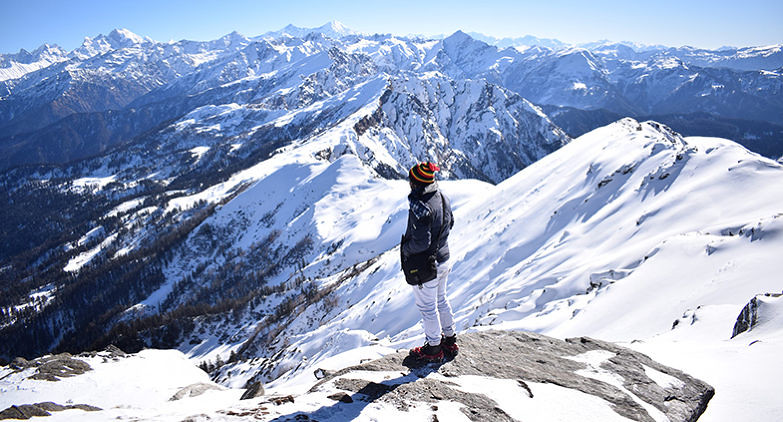
If this is your first snow trek, Kedarkantha is one of the best places to start. The trail is easy to moderate, the climb is gradual, and you get enough time to learn how to walk safely on snow without any technical climbing experience.
Most first-time trekkers worry about one thing before they leave home. “What if I slip on the ice?” It is a fair question. Snow looks beautiful in photos, but it can also feel scary if you have never walked on it before. The good news is that the trail is not one long sheet of ice. Most of the route is packed snow, and with the right shoes, a steady pace, and guidance from your trek leader, even beginners usually gain confidence within the first day.
This snow trek on Kedarkantha first timers guide focuses on what really happens on the trail. You will learn what snow feels like under your feet, where the trek becomes steeper, how cold it gets, what fitness you actually need, and the simple habits that make your first winter trek safe and enjoyable. Kedarkantha is also considered one of the best first summit treks in India because it offers a gradual climb with a proper summit experience.
Why Kedarkantha Is One of the Best Snow Treks for Beginners
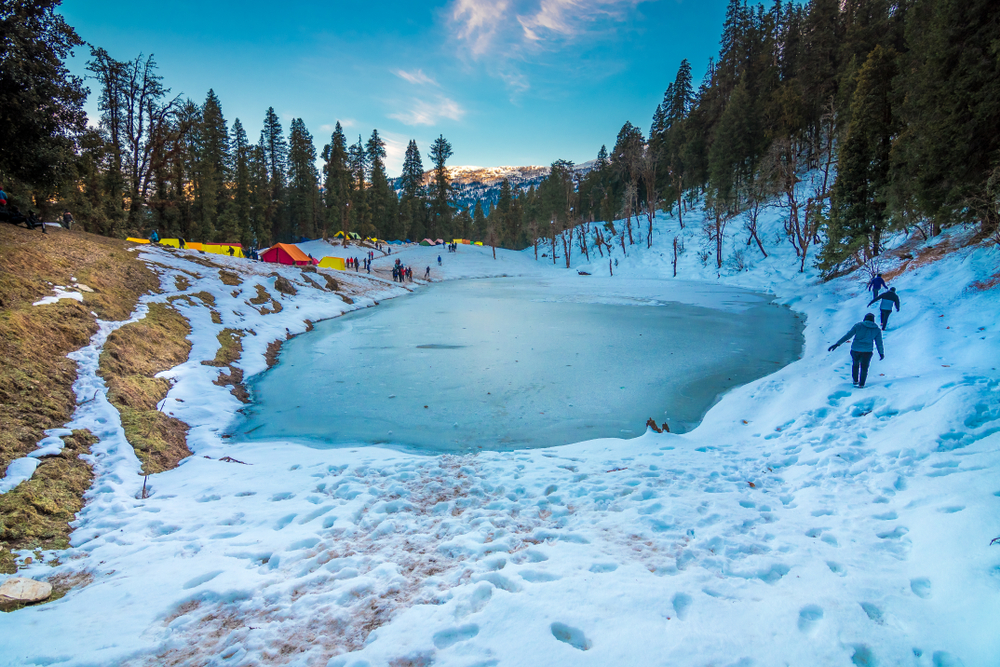
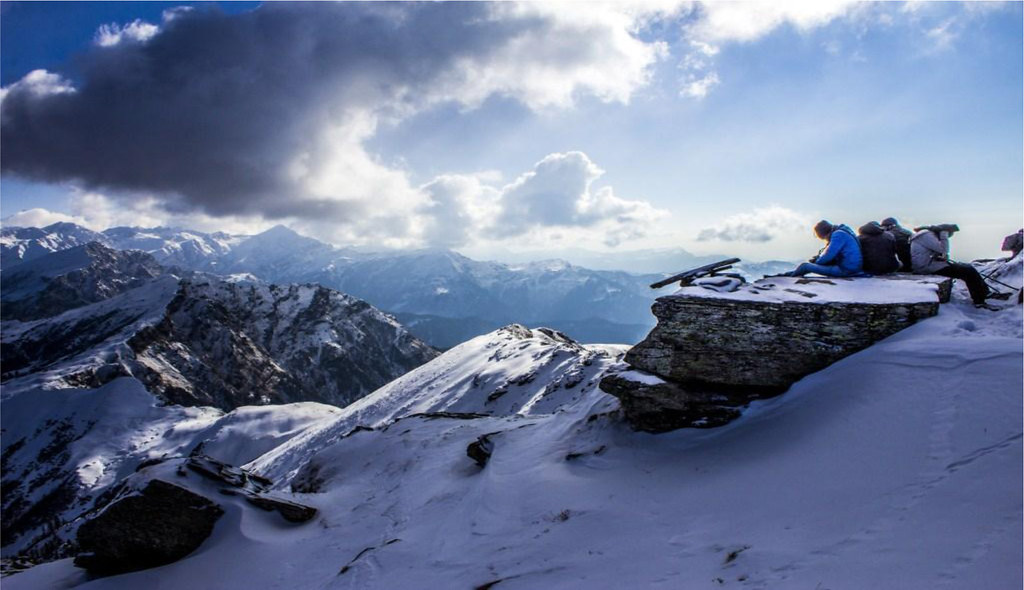
Not every Himalayan winter trek suits beginners. Some trails have long steep climbs, while others need technical skills or special equipment. Kedarkantha is different. The trek covers about 20 kilometres over four to five days. You begin from Sankri at around 1,950 metres (6,400 feet) and climb gradually through pine forests, snowy clearings, and campsites before reaching the Kedarkantha Summit at about 3,810 metres (12,500 feet).
Knowing the route details before your journey makes the experience much easier. The Kedarkantha trek total distance helps beginners understand how much they need to walk each day and how to prepare their body for the trail.
The trek gives your body enough time to adjust to the altitude. Each day feels a little harder than the last, but the increase is gradual instead of sudden. That is one reason so many people choose Kedarkantha as their first Himalayan snow trek. Another reason is the support available on the trail. During the winter season, experienced trek leaders walk with every group. They explain where to place your feet, how to use trekking poles, and how to cross icy patches safely.
What Walking on Snow Really Feels Like
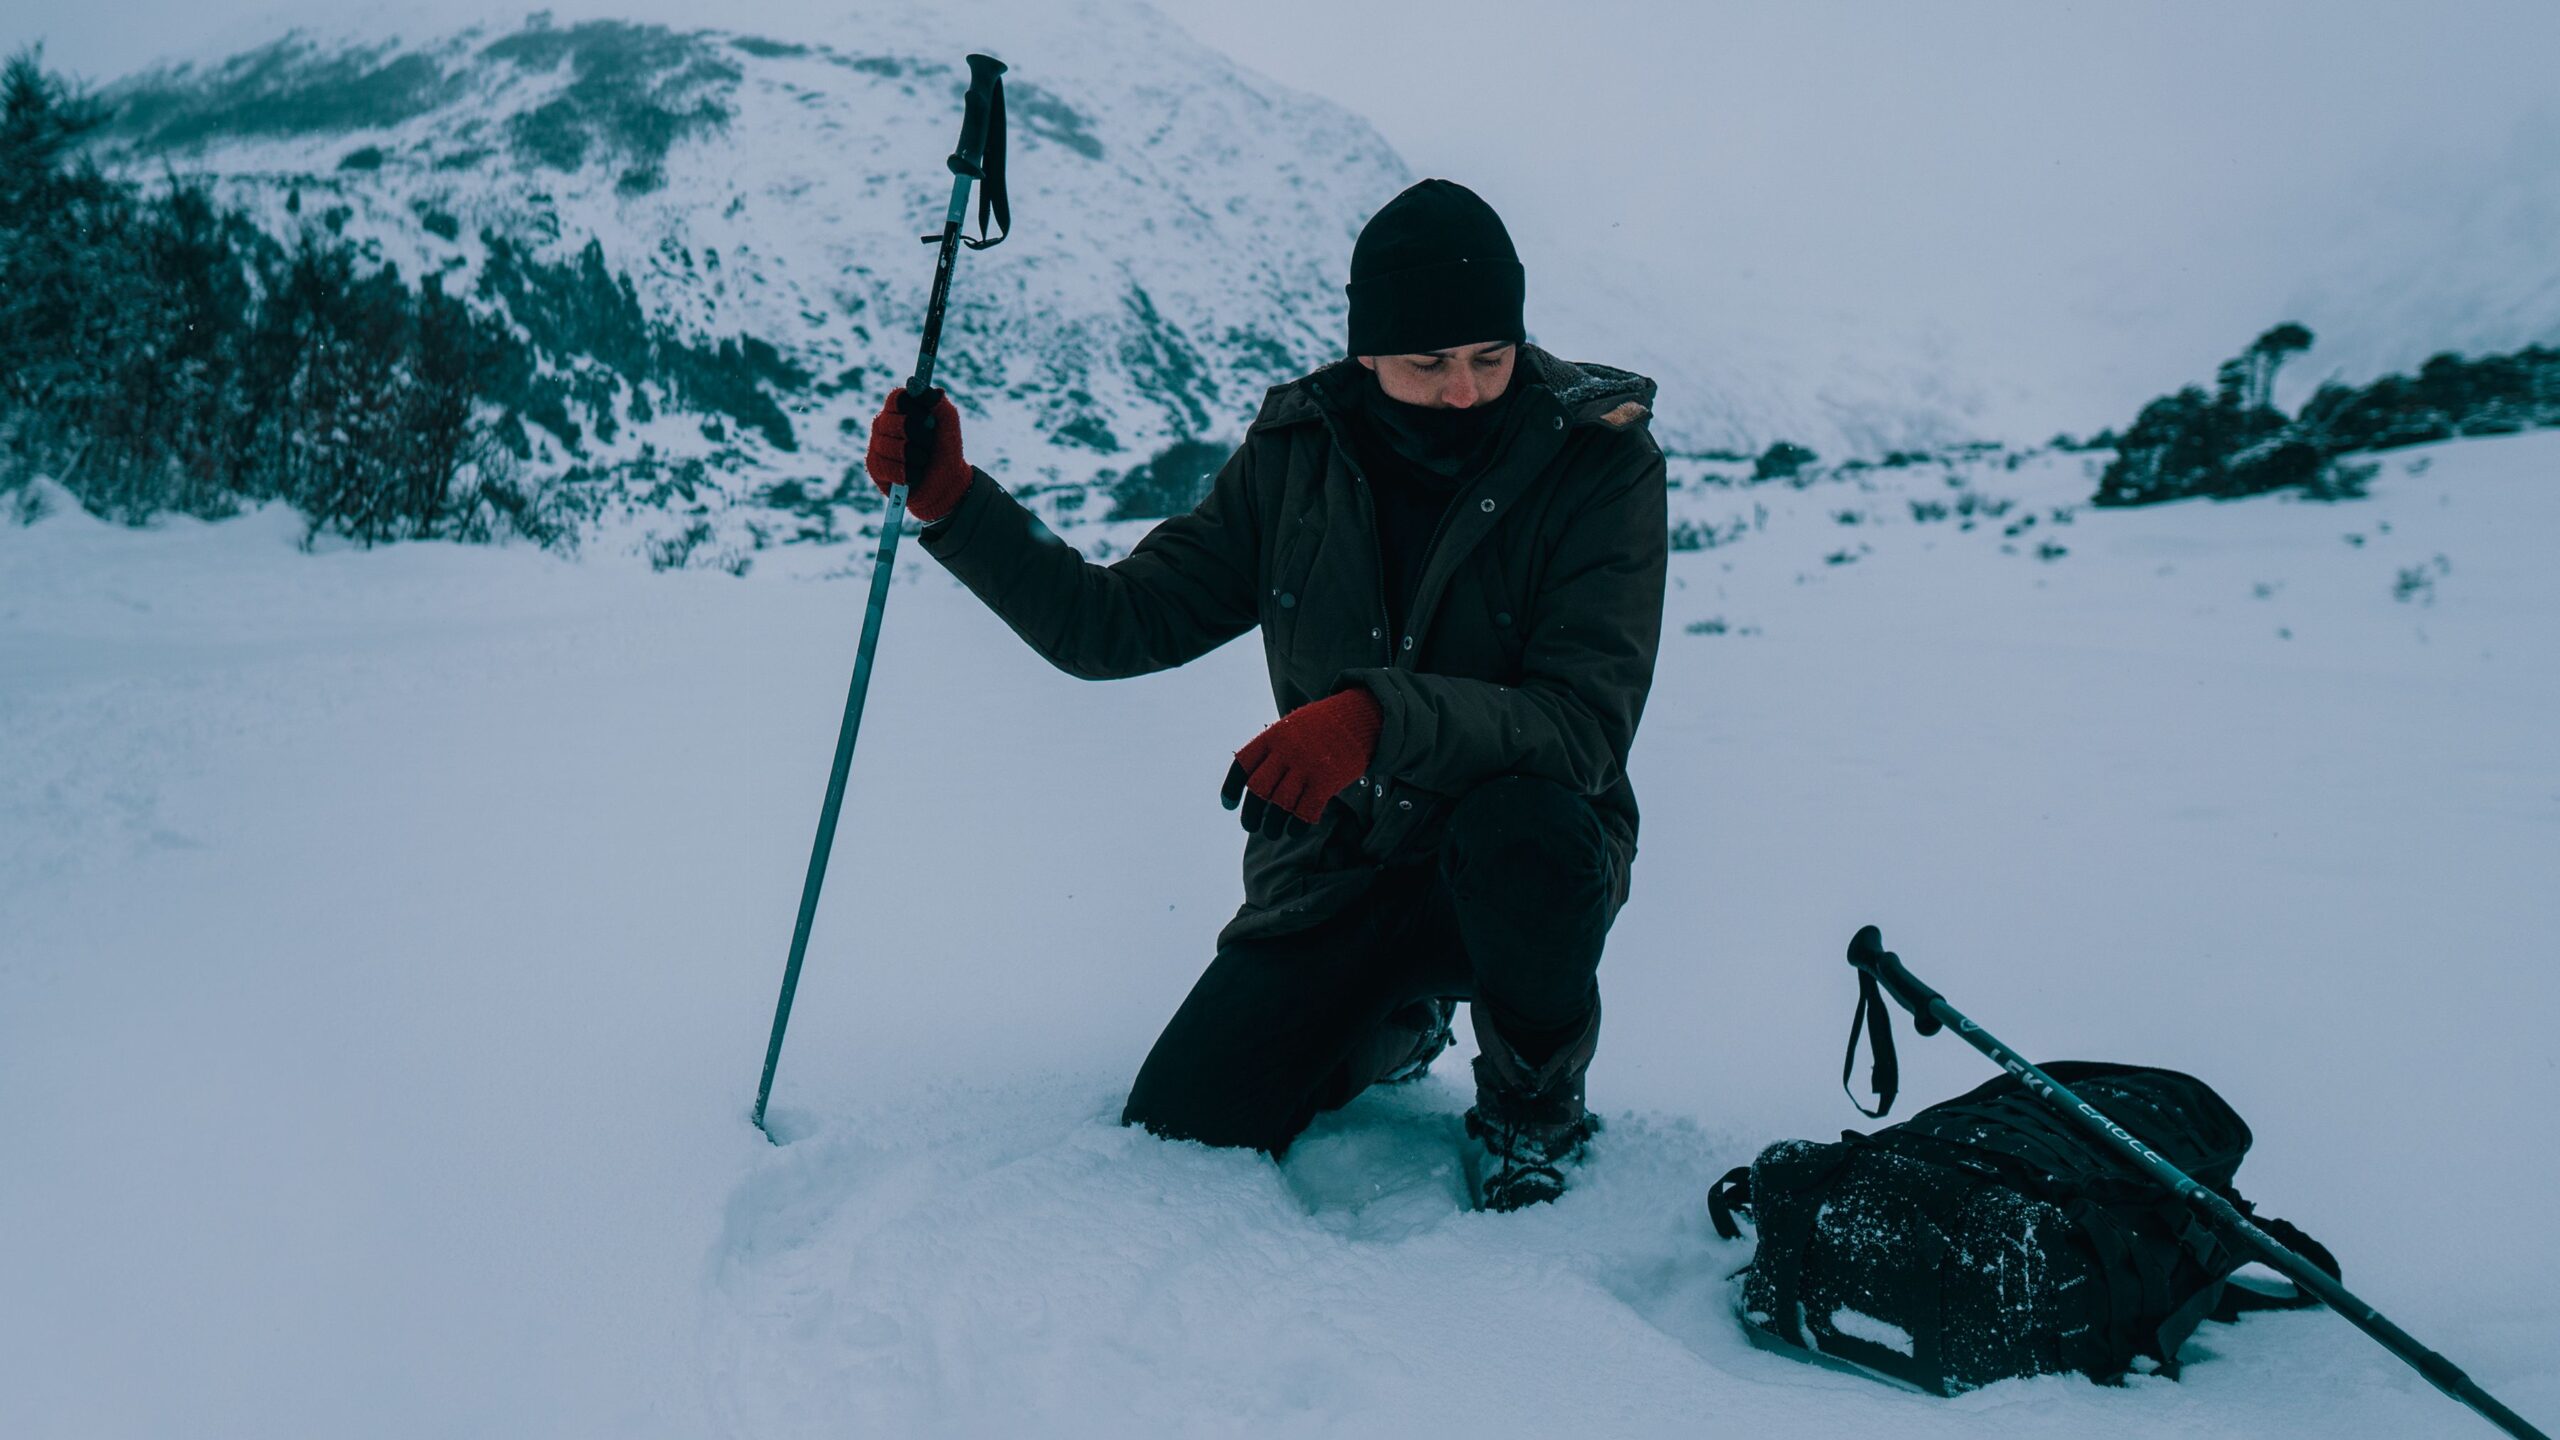
The biggest surprise for most beginners is that walking on snow feels easier than they expected. Fresh snow feels soft under your boots. Packed snow is firmer and easier to walk on. Only a few shaded sections become slippery because the snow freezes into ice.
The first thirty minutes usually feel strange. Your shoes sink a little, your legs work harder, and every step feels slower than it does on a normal trail. After some time, your body gets used to the new surface. You stop thinking about every step and begin enjoying the walk.
Many people compare it to walking on a wet marble floor. You naturally slow down, stay balanced, and avoid sudden movements. That same habit works well on snowy trails.
Where the Trek Feels Hardest
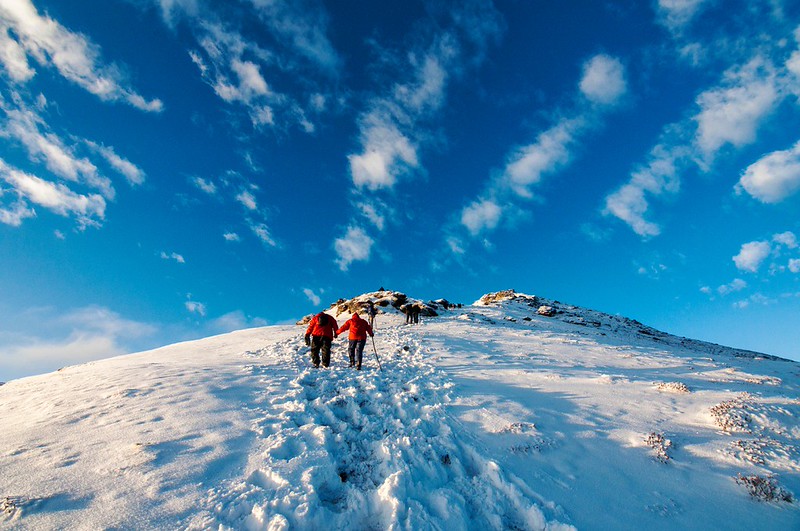
The Kedarkantha trek is not difficult for most healthy beginners, but there is one section that deserves extra respect. The final climb to the summit gains about 400 metres of altitude in nearly 2 kilometres. Some parts of this stretch have a 30 to 35-degree slope, making it the steepest section of the trek.
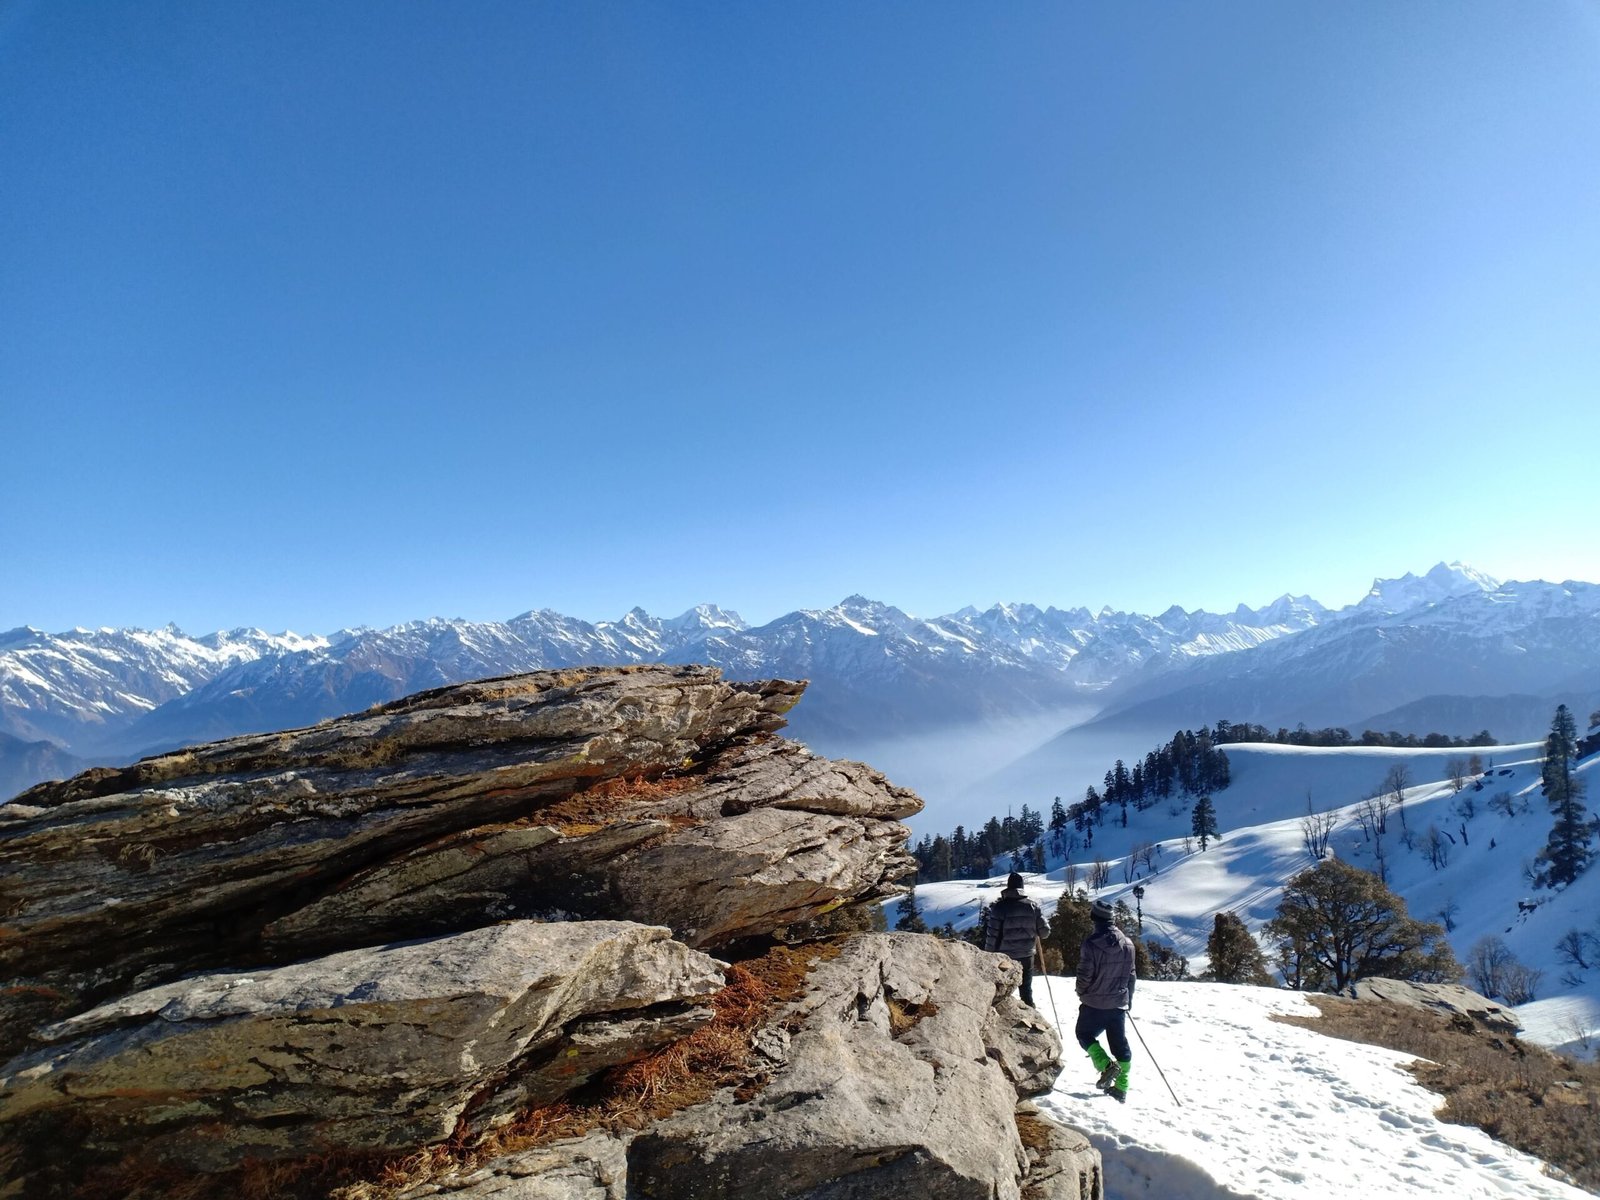
By this point, you are already above 3,600 metres, where the air feels thinner than it did at the base camp. That means you naturally walk slower and take more short breaks. The Kedarkantha summit climb is often the most memorable part of the trek because it tests your patience before rewarding you with wide Himalayan views.
Do not let these numbers worry you. Trek leaders expect everyone to move at their own pace. Nobody wins a prize for reaching the summit first. Small, steady steps almost always work better than trying to rush uphill.
Will You Walk on Ice the Entire Time?
No. This is one of the biggest myths about the Kedarkantha winter trek. Most of the trail is covered with packed snow instead of solid ice. Ice usually forms on exposed rocks or shaded parts of the trail where sunlight does not reach. During January and February, these icy patches become more common, especially above 3,500 metres.
Your trek leader normally points them out before you reach them. If the trail becomes very icy, some trek operators also provide microspikes, which improve grip on frozen sections. For most of the trek, good trekking shoes and careful walking are all you need.
How to Walk Safely on Snow
Walking on snow is more about balance than strength. People often slip because they become nervous and start taking quick steps. Slowing down is actually the safest thing you can do.
Keep these simple habits in mind throughout the trek.
- Place your whole foot on the snow instead of walking on your toes.
- Keep your knees slightly bent.
- Leave a little space between yourself and the person ahead.
- Look a few steps in front of you instead of staring only at your shoes.
- Use trekking poles for balance, especially while coming downhill.
- Follow the footprints already made by your trek leader whenever possible.
What Temperatures Should You Expect?
Cold weather feels different in the mountains because it changes throughout the day. During the trekking season, daytime temperatures usually stay between 5°C and 12°C when the sun is out. Nights are much colder and often drop to -5°C or even -10°C during peak winter. The funny part is that you may not feel very cold while climbing uphill. Your body produces heat as you walk.
Most people actually feel colder when they stop for lunch or reach the campsite in the evening. That is why wearing layers works much better than wearing one heavy jacket.
How Fit Should You Be Before the Trek?
You do not need to be an athlete to complete Kedarkantha. At the same time, you should not arrive without any preparation. Start getting ready at least four weeks before your trek. A little practice now makes the climb much more enjoyable later.
Following a proper how to get fit for Kedarkantha trek routine before your journey helps improve stamina, leg strength, and confidence on snowy climbs. A simple fitness routine is enough for most beginners.
- Walk 4 to 6 kilometres three or four times every week.
- Climb stairs for 15 to 20 minutes without long breaks.
- Do 15 to 20 squats every day.
- Add a few lunges to improve leg strength.
- Stretch your calves, hips, and lower back after every workout.
- Drink 2 to 3 litres of water every day to build good hydration habits.
You do not need a gym membership. Regular walking and consistency matter much more.
Eat Well Before Your Snow Trek
Your body needs fuel to handle long days in cold weather. Some people try to lose weight just before a trek. That usually does more harm than good because your body needs energy to recover after each day on the trail. In the week before your trek, eat simple home-cooked meals with enough protein. Foods like dal, paneer, eggs, chicken, soy chunks, milk, and curd help your muscles recover after training.
Also drink enough water every day. Cold weather often reduces your thirst, but dehydration can still happen. A well-hydrated body handles altitude and long walks much better than one running low on fluids.
Should You Buy Trekking Shoes or Rent Them?
This is a common question for first-time trekkers. If this is your only winter trek, renting good-quality waterproof trekking shoes from Sankri or your trek operator can save money. If you plan to explore more Himalayan trails in the future, buying your own waterproof trekking shoes is a better investment. They will fit your feet better and become more comfortable after a few practice walks.
Before leaving for the trek, check your complete gear list carefully. A proper Kedarkantha trek packing list helps you carry important winter items without filling your backpack with unnecessary things.
Whatever you choose, never wear brand-new trekking shoes for the first time on the mountain. Wear them during practice walks for at least a week before your trek. Your feet will thank you later.
The Biggest Mistakes First-Time Snow Trekkers Make
Most people do not struggle because the trek is too hard. They struggle because of small mistakes that are easy to avoid. Winter trekking brings its own challenges. Cold weather, snow conditions, altitude, and long walking hours can test beginners if they arrive without preparation. Understanding the common Kedarkantha trek challenges before starting helps you make better decisions on the trail.
We see the same problems every winter. The good news is that every one of them has a simple fix.
- Wearing cotton socks that stay wet for hours.
- Packing too many clothes and carrying a heavy backpack.
- Walking too fast on the first day.
- Drinking very little water because it feels cold.
- Taking off jackets as soon as they feel warm.
- Ignoring the trek leader’s instructions on icy sections.
None of these mistakes seem serious at first. Together, they can make the trek much more tiring than it needs to be.
What Happens If You Slip?
Almost every first-time trekker worries about falling. The truth is much less dramatic than most people imagine. Small slips happen on many winter treks. In most cases, you simply sit down on the snow, smile, brush yourself off, and continue walking. Snow is much softer than rock, which is why these small slips rarely become serious.
The best thing you can do is stay calm. Do not try to jump up quickly or twist your body. Listen to your trek leader, regain your balance, and continue at a steady pace. One thing we notice every season is that the first harmless slip often removes everyone’s fear. The group laughs together, confidence grows, and people stop overthinking every step.
What Changes During the Day?
Snow never feels exactly the same from morning to evening. Early mornings usually have firmer snow because of the cold night. Walking is easier, but shaded areas may feel slightly icy. As the sun gets stronger, the top layer softens. Your boots may sink a little deeper, especially in open meadows.
By late afternoon, temperatures begin falling again. Wet patches start freezing, and some parts of the trail become slippery. This is one reason trek leaders like to begin walking early each morning. The trail is usually more stable, and there is enough daylight to reach the campsite comfortably.
The Long Descent Is Often Harder Than the Climb
Many beginners think reaching the summit is the hardest part. For many people, the descent feels tougher. On the last trekking day, you lose nearly 1,100 metres of altitude while walking back towards Sankri. Going downhill puts more pressure on your knees and ankles than climbing uphill.
The summit day is usually the most exciting part of the trek, but the return journey also creates unforgettable memories. After reaching the top, many trekkers remember the feeling of achievement they get during the sense of accomplishment after Kedarkantha summit.
That is why experienced trekkers use trekking poles during the descent. Small steps and a steady pace help much more than trying to walk fast. If your legs feel tired, take a short break instead of pushing through the discomfort.
The Mental Challenge Is Bigger Than the Physical One
The biggest battle on Kedarkantha often happens inside your mind. There will be moments when the climb feels longer than expected. You may wonder how far the campsite is or whether you can really reach the summit.
Almost every trekker has those thoughts. Then something changes. You cross a snowy forest, see sunlight falling on the mountain peaks, or hear fresh snow crunch beneath your boots. Suddenly, the tiredness fades into the background.
Many people return from Kedarkantha talking less about the summit and more about the confidence they found along the way. That confidence often stays with them long after the snow has melted.
Quick Checklist Before You Leave for Kedarkantha
Before you start your journey, ask yourself these simple questions.
- Have I walked regularly for the last four weeks?
- Are my trekking shoes waterproof and already broken in?
- Have I packed warm layers instead of one heavy jacket?
- Do I have good wool or quick-dry socks?
- Am I carrying gloves, a wool cap, sunglasses, and sunscreen?
- Have I chosen a reliable trek operator with experienced guides?
- Am I ready to walk slowly and enjoy the journey instead of rushing?
FAQs
Can a beginner do the Kedarkantha snow trek?
Yes. Kedarkantha is one of the most beginner-friendly winter treks in India. You do not need prior trekking experience, but basic fitness and proper preparation make the trek much more comfortable. The complete trek usually takes around 4 to 5 days, depending on the route and itinerary chosen.
What if I have never walked on snow before?
That is completely normal. Many people on the trail see snow for the first time. Your first few steps may feel uncomfortable, but your body adjusts quickly. Trek leaders explain how to walk, where to slow down, and how to handle slippery sections.
Are microspikes provided during the trek?
Many trek operators provide microspikes if the trail becomes very icy. Their use depends on snow conditions, so it is best to check with your trek operator before your trip.
How cold does Kedarkantha get in winter?
Daytime temperatures usually stay between 5°C and 12°C. Nights often fall between -5°C and -10°C, especially during December, January, and early February.
Which shoes are best for the Kedarkantha snow trek?
Waterproof trekking shoes with good ankle support and deep grip are the best choice. Sports shoes or casual sneakers do not provide enough grip or protection on snowy trails.
Is the Kedarkantha trek safe in winter?
Yes, when you trek with an experienced operator, follow your guide’s instructions, wear the right gear, and avoid taking unnecessary risks. Winter is also the busiest trekking season, so the trail is well known and regularly used by beginners and experienced trekkers.