The Kedarkantha trek total distance 23 km is a common figure used by many trek operators that follow a 4-day itinerary. However, you may also see some websites mention 20 km. Both numbers can be correct because the total distance changes slightly based on the route, campsite location, and trek plan.
If you are planning the trek, the best way to understand the distance is to look at it campsite by campsite. Once you see the daily walking distance and altitude gain, it becomes much easier to judge whether the trek is right for you. A trek itinerary can also help you understand how the route is divided across different days.
The good news is that Kedarkantha Trek is one of the most beginner-friendly winter treks in India. The daily walks are manageable, and the route gives your body enough time to adjust to the height.
Also read about: How to start the Kedarkantha Trek
Kedarkantha Trek Distance: Why Some People Say 20 km and Others Say 23 km
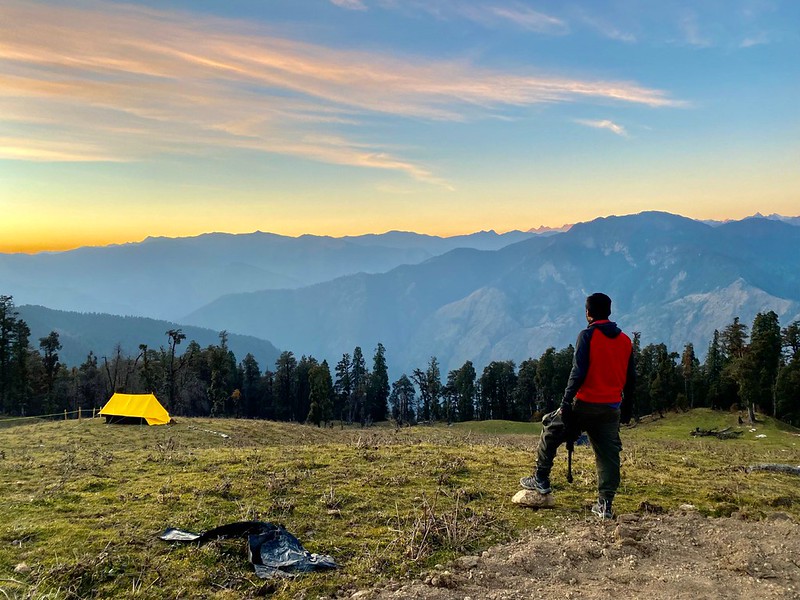
One thing confuses many trekkers before booking the trek. Some websites say the trek is 20 km, while others say 23 km. The reason is simple. Not every operator follows the exact same itinerary. Some use different campsites. Others include a longer descent route. GPS devices can also show slightly different numbers in the mountains.
For most trekkers, the total walking distance falls between 20 km and 23 km. If you choose a standard 4-day itinerary, the distance is often close to 23 km, which is why many operators use that figure.
Also read: Arrival at Sankri
Kedarkantha Trek Total Distance 23 km: Day Wise Breakdown Campsite by Campsite
A typical 4-day route follows these camps:
- Day 1: Sankri to Juda Ka Talab – 4 km
- Day 2: Juda Ka Talab to Kedarkantha Base Camp – 4 km
- Day 3: Base Camp to Summit and Hargaon Camp – 11 km
- Day 4: Hargaon Camp to Sankri – 4 km
Total Distance: Around 23 km
The exact distance may vary slightly depending on snow conditions and the campsite chosen by your trek operator.
Altitude Gain Matters More Than Distance
Many first-time trekkers focus only on kilometres. In reality, altitude gain plays a much bigger role in how difficult the trek feels. Here is the height of each major point on the route:
Location | Altitude |
Sankri | 6,400 ft |
Juda Ka Talab | 9,100 ft |
Kedarkantha Base Camp | 10,700 ft |
Kedarkantha Summit | 12,500 ft |
Hargaon Camp | 8,900 ft |
You gain more than 6,000 feet during the trek. That is why even a short distance can feel challenging at times. While most trekkers adjust well, it is important to understand the signs of altitude sickness on Kedarkantha trek before you start. The good thing is that the climb happens gradually. Your body gets time to adjust as you move higher each day.
Day 1: Sankri to Juda Ka Talab (4 km)
The trek starts from Sankri village, a small mountain village in Uttarkashi district. Most trekkers reach here after a long drive from Dehradun. The trail enters a thick forest of pine and oak trees. The climb is gentle and perfect for beginners. You do not need to rush. A steady pace works best.
As you walk deeper into the forest, the noise of roads disappears. You hear birds, wind in the trees, and the sound of footsteps on the trail. After about three to four hours, you reach Juda Ka Talab.
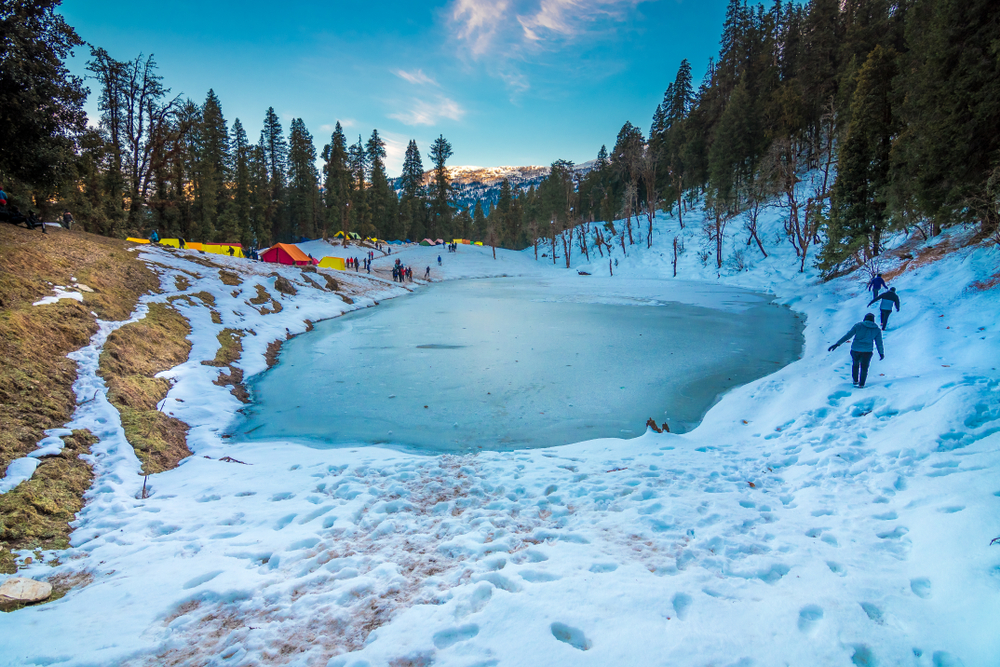
This beautiful lake is one of the highlights of the trek. During winter, it often freezes and looks like a scene from a postcard. Many trekkers spend the evening taking photos and enjoying the peaceful setting.
Day 2: Juda Ka Talab to Kedarkantha Base Camp (4 km)
The second day is short, but the views become much bigger. The forest slowly opens up as you gain height. Snow-covered clearings appear during winter months. The Himalayan peaks begin showing themselves through gaps in the trees.
Many trekkers love this part of the journey because the landscape keeps changing. One moment you are inside a dense forest. The next moment you are walking through a wide snowy meadow.
The climb remains steady and comfortable. By afternoon, you reach Kedarkantha Base Camp. This campsite offers some of the best mountain views on the trek. On a clear evening, the sunset colours spread across the snow-covered peaks. It is also the place where excitement starts building for summit day.
Day 3: Kedarkantha Summit and Hargaon Camp (11 km)
This is the biggest day of the trek and is often known as the Kedarkantha summit day among trekkers. Most groups start before sunrise. Headlamps light up the trail as trekkers begin the climb towards the summit.
The route is steeper than previous days. Snow can make the climb slower, but most beginners complete it successfully with regular breaks. After a few hours, you reach the Kedarkantha Summit at 12,500 feet.
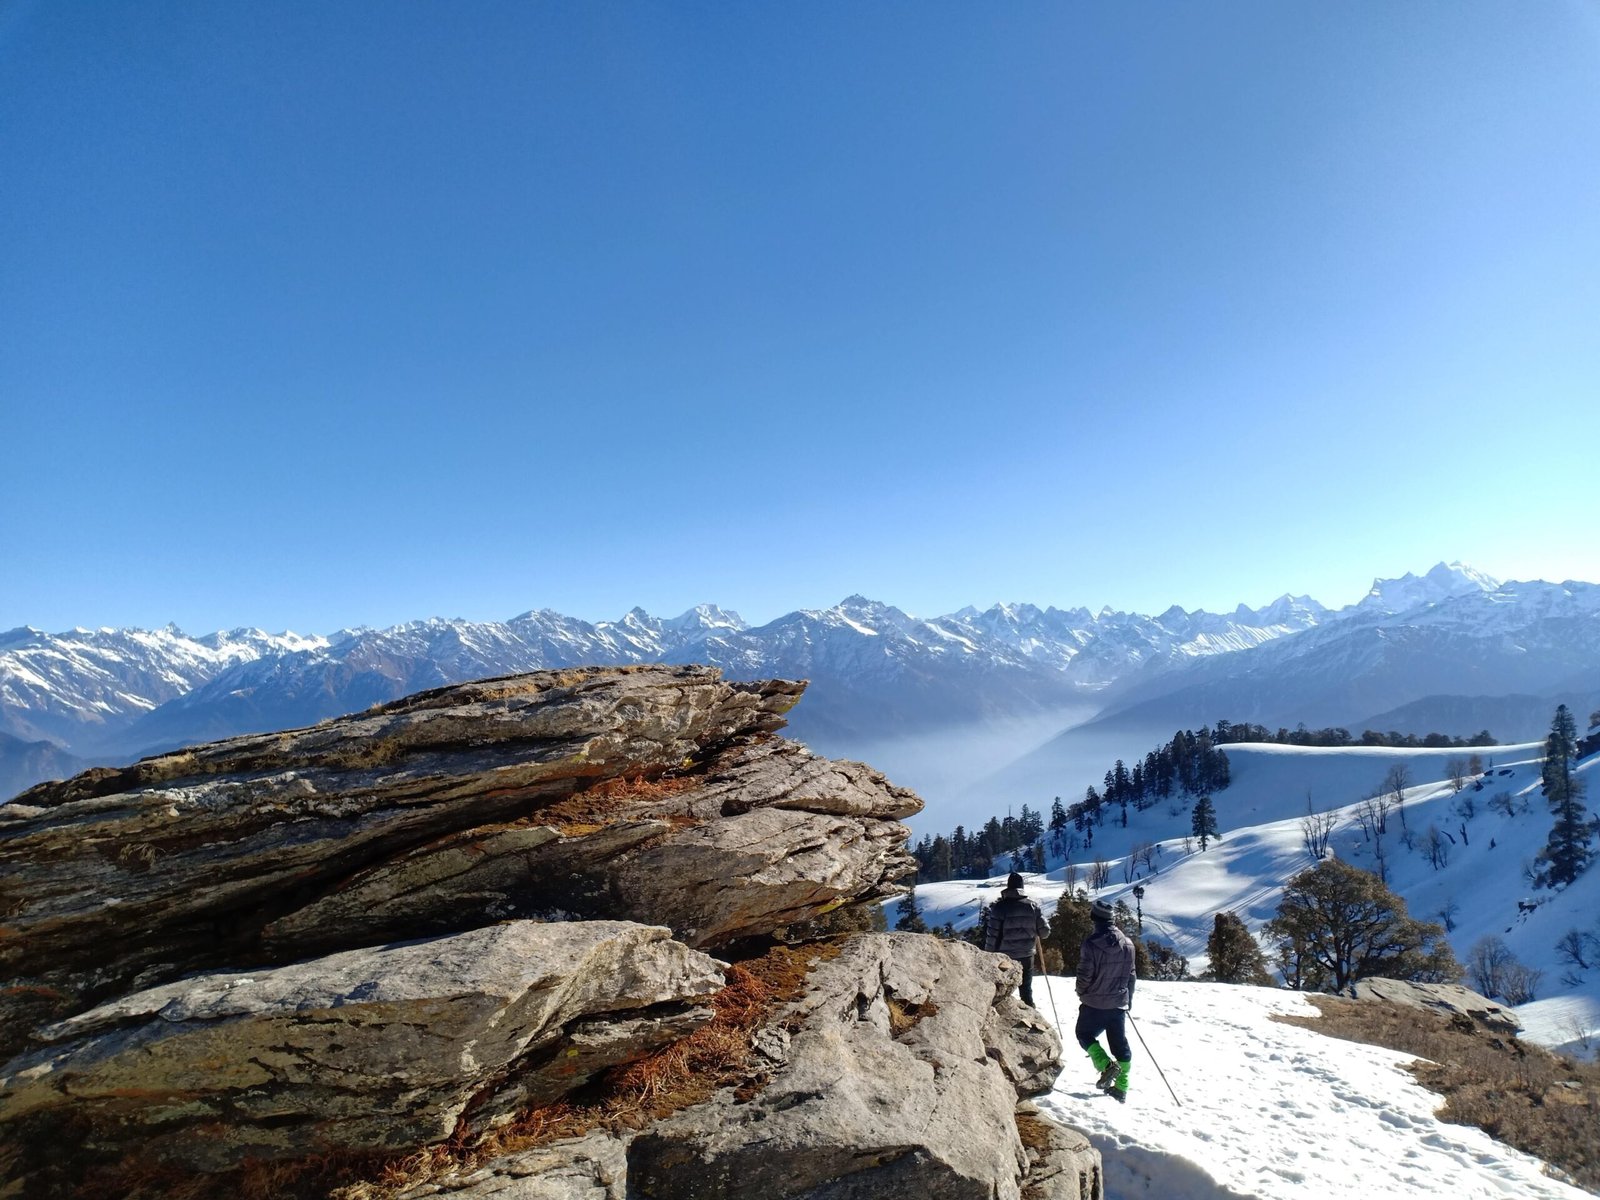
The view from the top is worth every step. On a clear day, you can see famous Himalayan peaks such as Swargarohini, Bandarpoonch, Black Peak, and Ranglana. Snow-covered ridges stretch across the horizon in every direction.
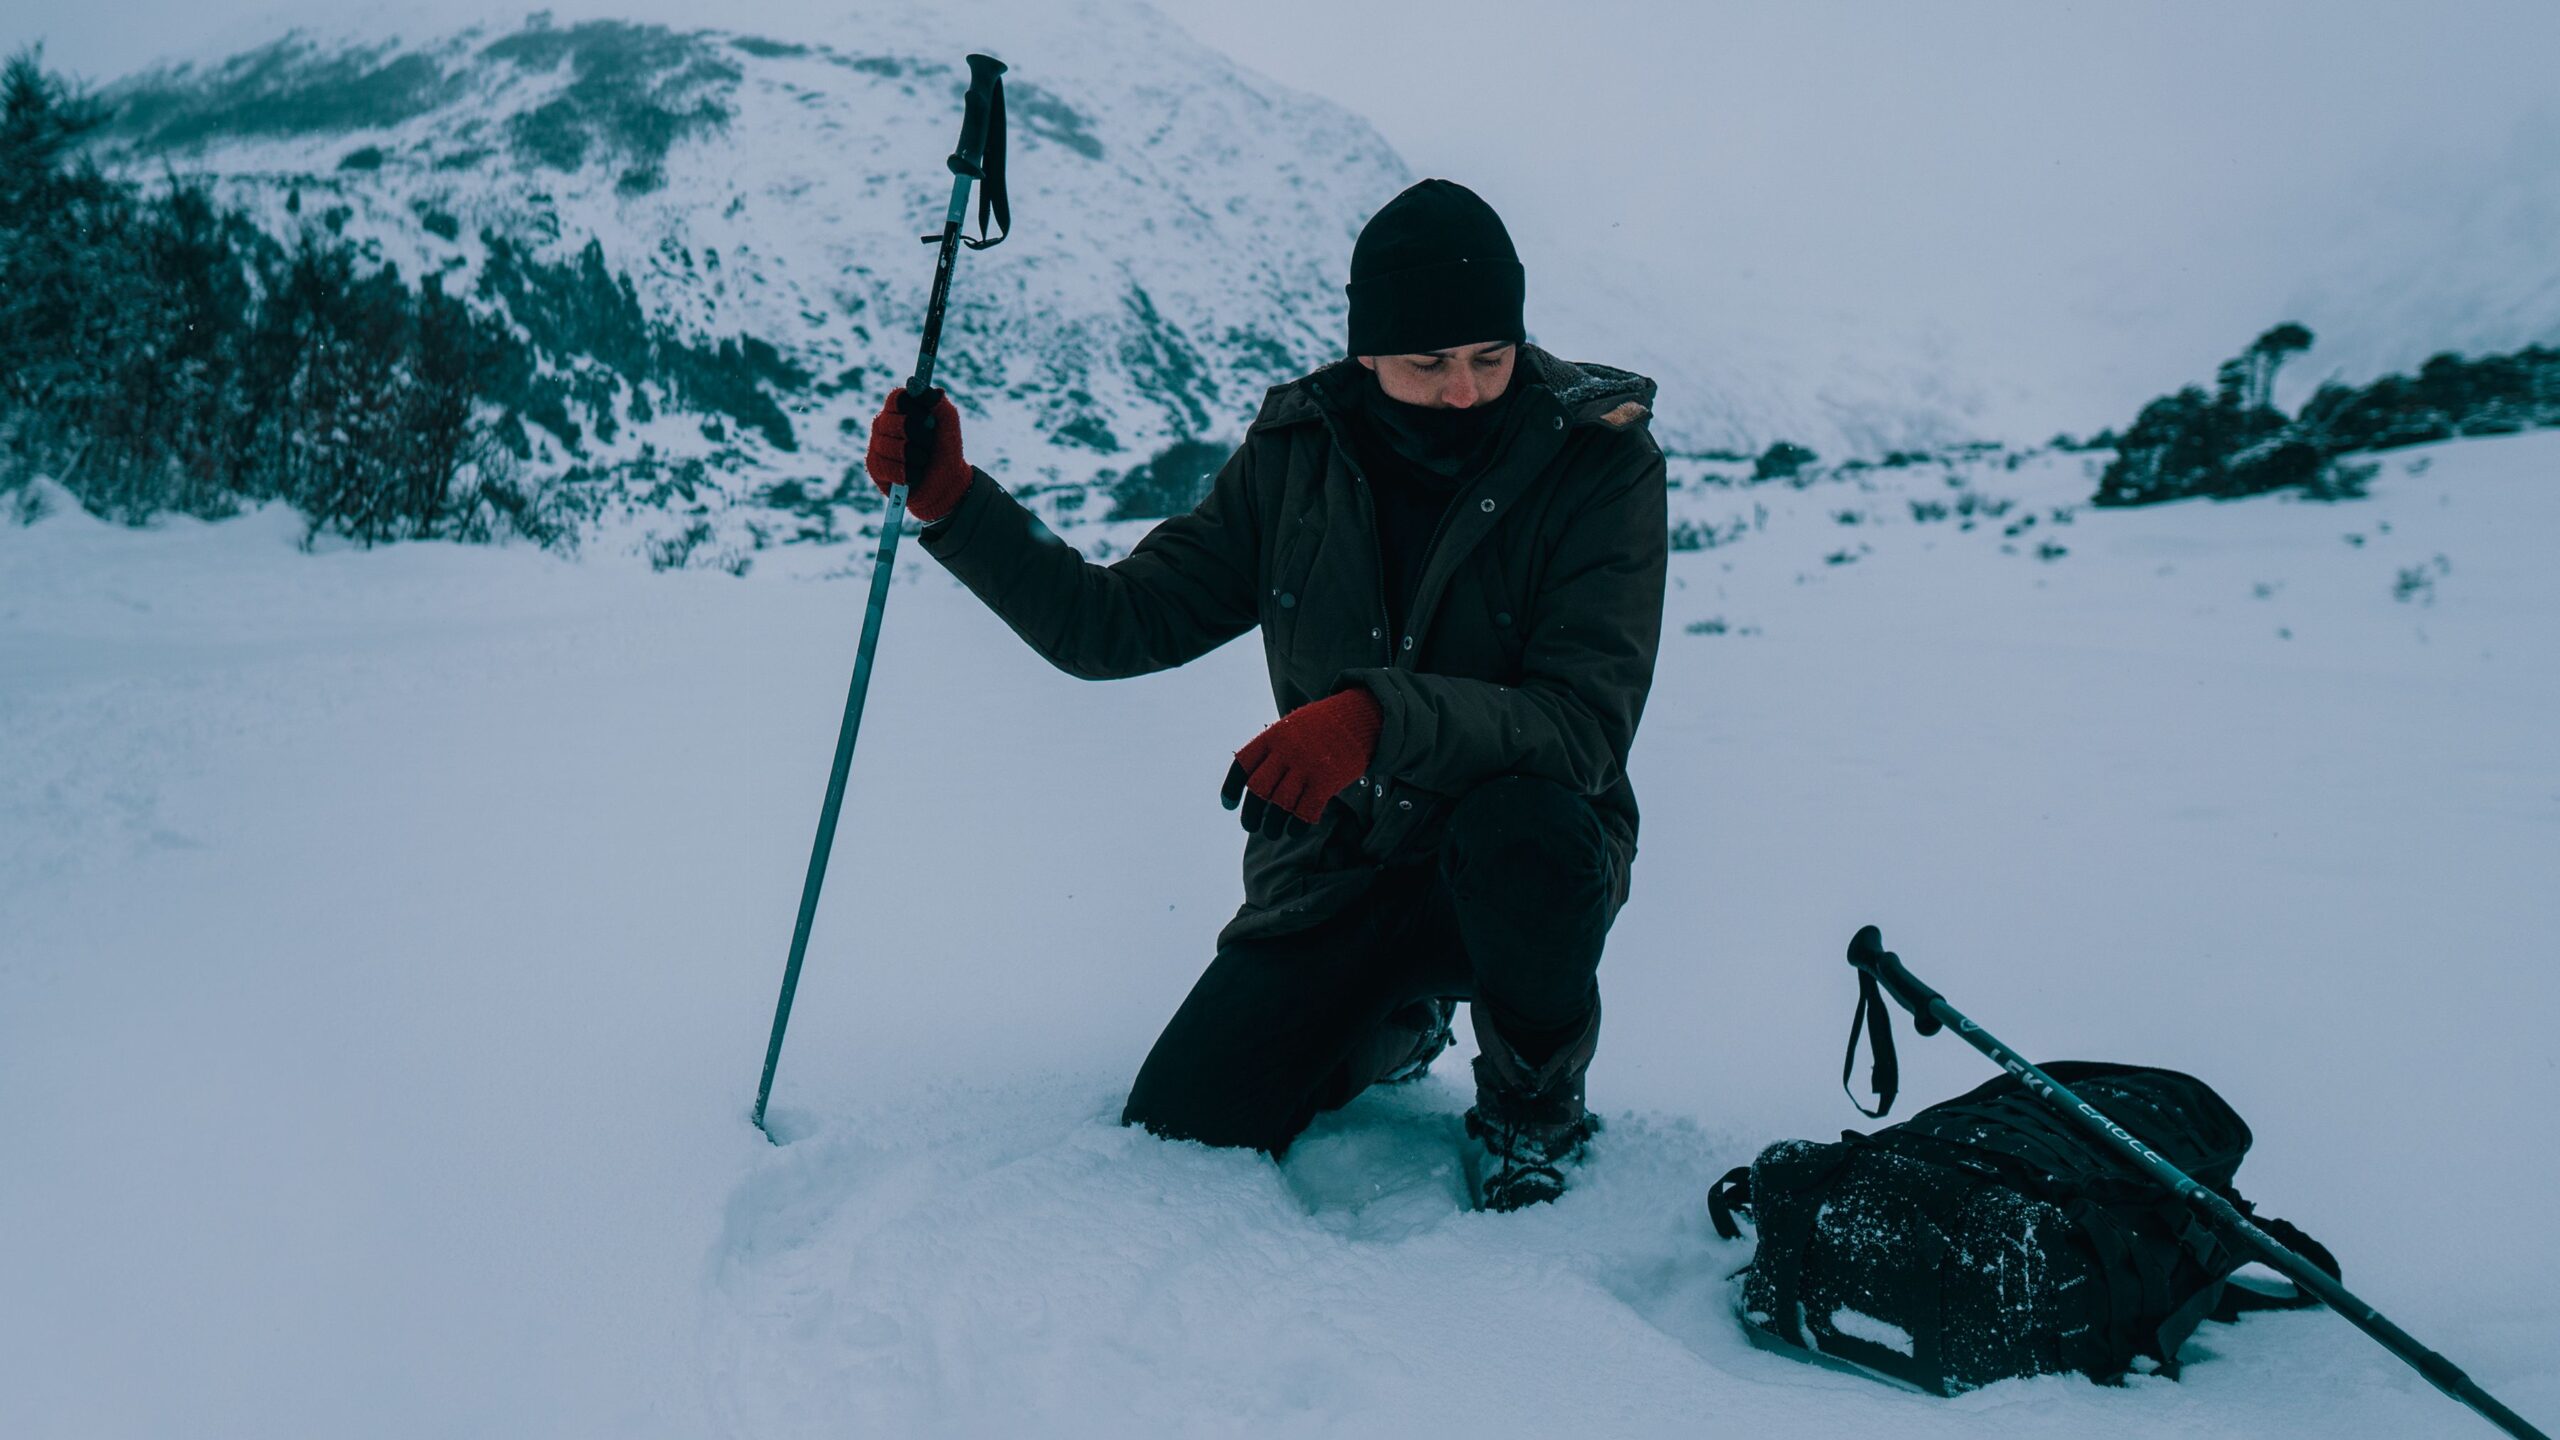
Many trekkers say this is the moment they remember most. After spending time at the summit, the trail descends towards Hargaon Camp. The downhill section can feel hard on the knees, especially if there is fresh snow. Trek poles help a lot during this part. By evening, you reach Hargaon Camp and enjoy your final night in the mountains.
Day 4: Hargaon Camp to Sankri (4 km)
The last day feels much easier. The trail descends through forests and open clearings. The air becomes warmer as you lose altitude. Many trekkers spend this walk sharing stories and photos from the previous days. There is a feeling of achievement, but also a little sadness that the trek is ending.
Most groups reach Sankri before lunch. By this point, you have completed one of India’s most loved winter treks.
Dehradun to Sankri Distance: An Important Part of the Journey
While the trek itself covers about 20 to 23 km, there is another distance that many people forget. You first need to travel from Dehradun to Sankri. The road distance is around 190 to 210 km and usually takes 8 to 10 hours. The drive passes through beautiful mountain roads, rivers, and small villages. In fact, many trekkers are surprised that the road journey takes longer than the trek itself. So when planning your trip, always keep this travel day in mind.
4-Day vs 5-Day vs 6-Day Kedarkantha Itinerary
Different trek operators follow different schedules.
Here is a simple comparison:
Itinerary | Distance | Daily Effort |
4 Days | 22-23 km | Longer trekking days |
5 Days | 20-23 km | More balanced pace |
6 Days | 20-23 km | Shorter daily walks |
The overall distance stays similar. What changes is how the kilometres are spread across the days. If you are reasonably fit, a 4-day itinerary works well. If you want a slower pace or are trekking with children, a 5-day or 6-day plan may feel more comfortable.
Is Kedarkantha Too Difficult for Beginners?
For most people, the answer is no. The trek is often recommended as a first Himalayan trek because the distances are manageable and the trail is easy to follow. This is one reason many people consider it a great choice for a Kedarkantha trek for beginners. Before coming, try to build some stamina.
A few simple habits help a lot:
- Walk for 4 to 5 km regularly.
- Use stairs whenever possible.
- Stay hydrated.
- Carry only what you need.
- Follow a steady pace during the trek.
You do not need to be an athlete. Consistent preparation matters much more.
What the Distance Does Not Tell You
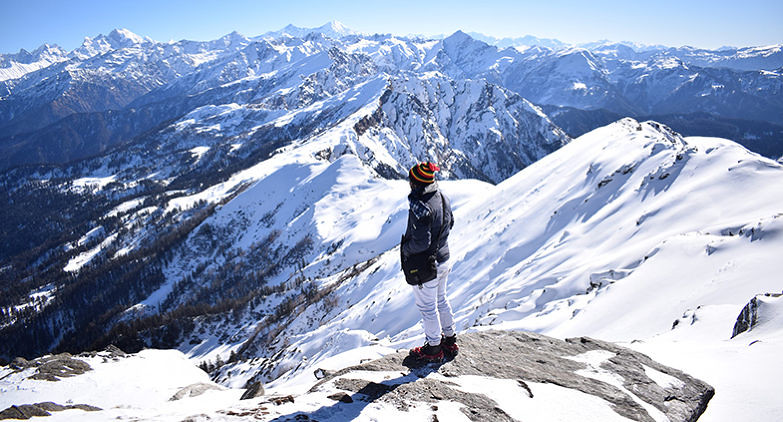
The number 23 km only tells part of the story. Those kilometres take you through frozen lakes, pine forests, snowy meadows, mountain ridges, and one of the most beautiful summit viewpoints in the Himalayas.
The real memory is not the distance. It is waking up in a tent on a cold morning. It is watching the first sunlight hit the mountains. It is hearing snow crunch beneath your boots as you climb towards the summit.
When you look back on Kedarkantha years later, you probably will not remember whether the trek was 20 km or 23 km. You will remember how those four days made you feel when the Himalayas stood right in front of you.