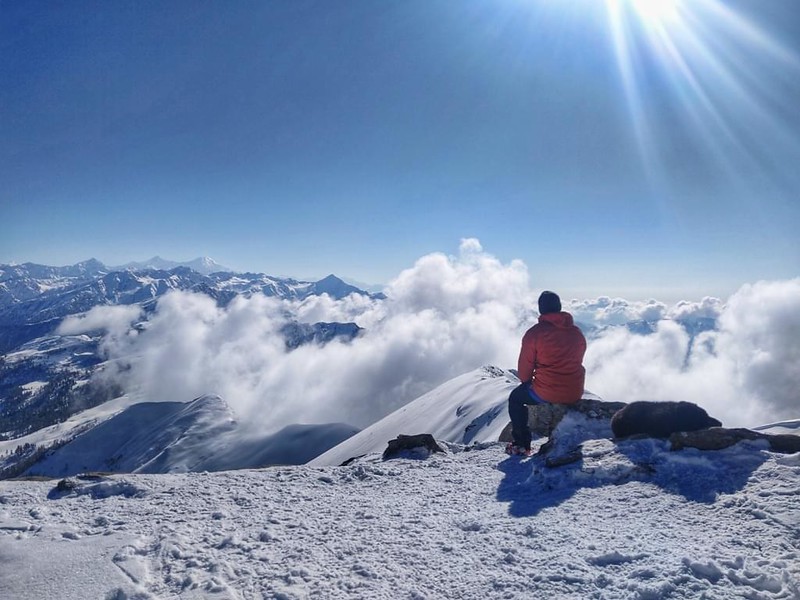
A good 6 week training plan for Kedarkantha trek should build your stamina, leg strength, and uphill fitness without leaving you tired or sore before the trek. You do not need to be a gym rat or a fast runner. But you should be able to walk for a long time, climb stairs, carry a light pack, and recover well after a hard day.
Kedarkantha is a beginner-friendly winter trek, but the word “beginner” can be misleading. The summit is around 3,800 metres or 12,500 feet high. The full route is around 20 to 23 km, depending on the route and operator. Regular trek days can cover about 4 to 5 km, while summit day can stretch to around 9 km and take 7 to 8 hours.
That last day is where your training really matters. You start early, walk in cold weather, climb on snow, and gain height for hours. So, the goal of these six weeks is simple: make that long day feel manageable.
What Fitness Level Do You Need for Kedarkantha?
You do not need to run a marathon before Kedarkantha. A useful fitness test is being able to jog or run 5 km in about 38 to 40 minutes. Indiahikes uses around 5 km in 38 minutes as a good target. Its broader fitness guide gives 40 to 45 minutes as a more suitable target for people above 40.
Bikat Adventures uses another useful test. It suggests being able to run 3 km in 25 to 30 minutes, walk 10 km on a slight incline, climb 30 floors without a break, and do basic squats, lunges, and push-ups.
Do not treat these numbers as an exam. They are simple checks to see where you stand. If you cannot meet them today, that does not mean you should cancel your trek. It means you have a clear starting point for your training. You can also compare your starting point with the wider Kedarkantha trek difficulty before you begin.
Your 6 Week Training Plan for Kedarkantha Trek
The plan below works well for a person who can already walk for about 30 minutes. If you are not active at all, start more slowly. You can repeat a week before moving ahead if your body needs more time.
Week | Cardio | Strength | Stairs / Incline | Main Goal |
Week 1 | 3 × 30–40 min | 2 sessions | 10–15 min | Build routine |
Week 2 | 3 × 40–50 min | 2 sessions | 15–20 min | Improve stamina |
Week 3 | 2 × 45–50 min + 1 × 60 min | 2 sessions | 20–30 min | Add uphill work |
Week 4 | 2 × 50 min + 1 × 75–90 min | 2 sessions | 30–40 min | Start trek practice |
Week 5 | 2 moderate sessions + 1 × 90–120 min | 2 sessions | 30–45 min | Peak training |
Week 6 | 2 × 30–45 min | 1 light session | Short easy session | Recover and taper |
Week 1: Start With Basic Stamina
The first week should feel controlled. You are building a habit, not trying to prove your fitness in seven days. Walk briskly for 30 to 40 minutes on three days. You should breathe faster but still be able to speak in short sentences. Add two short strength sessions during the week.
Use basic exercises such as squats, reverse lunges, calf raises, glute bridges, and planks. Start with a small number of repetitions. Good form matters more than doing 50 squats badly. Take at least one full rest day. Your muscles need time to repair and grow stronger.
Week 2: Increase Your Walking Time
Your body should now be used to regular exercise. Increase your brisk walks to 40 to 50 minutes. Add a short stair session once a week. If you live in a flat city, do not worry. Apartment stairs, stadium steps, or a treadmill with an incline can all help.
Keep two strength sessions. Focus on your thighs, hips, calves, and core because these areas work hard during climbs and descents. By the end of this week, a 45-minute brisk walk should feel much easier than it did at the start.
Week 3: Add Hills and Stairs
This is when the plan starts looking more like trek training. Kedarkantha is not a flat road walk, so your heart and legs need to work against an incline. Do two brisk walks of 45 to 50 minutes. Add one longer walk of about 60 minutes. Include stairs or an incline during another session.
Try step-ups during your strength workouts. They are simple but useful because the movement is close to stepping uphill. Do not race up the stairs. A steady pace is better. You are training your body to keep working, not trying to win a race with your neighbour.
Week 4: Start Trek-Specific Training
By week four, add a light backpack to one longer walk. Start with only a small load. You are learning how the pack sits on your shoulders and back. Aim for one 75 to 90-minute walk. Use your trekking shoes for part of the session. This is also a good time to test your socks and walking clothes.
Add stairs or an incline for 30 to 40 minutes during the week. Keep two strength sessions as well. Your weekend walk should now feel like a small trek. Walk for a long period, take short breaks, drink water, and have a snack when needed. These small habits become useful on the real trail.
Week 5: Do Your Hardest Training
Week five is your peak week. Your body should now handle longer sessions without falling apart the next day. Do one long walk or hike for 90 minutes to two hours. Add an incline or stairs where possible. Carry the light pack you expect to use on the trek.
This is also the right week to check your fitness against simple targets. You can aim for a 5 km jog or run in around 38 to 40 minutes. If running is not suitable for you, work towards a brisk 10 km walk on a mild incline instead. These are useful benchmarks based on current trekking fitness guidance, not strict entry rules.
Your body should also be able to handle basic strength work without pain.
- 10 to 15 controlled squats
- 10 to 15 lunges on each side
- 15 to 20 calf raises
- 20 to 30 second planks
- Several flights of stairs at a steady pace
You do not need to hit every number perfectly. Look at the whole picture. Can you keep moving for a long time? Can your legs handle stairs? Can you recover by the next day?
Week 6: Reduce Training Before the Trek
The final week is not the time to become a fitness hero. Your hard work is already done. Cut down the length of your workouts. Do two easy walks of 30 to 45 minutes and one short stair session. Keep only one light strength workout.
Avoid heavy leg workouts in the last few days. You want fresh legs when you reach Sankri.
Sleep well during this week. Eat normal meals and drink enough water. There is no need for a crash diet or a sudden high-protein routine.
How to Train for Kedarkantha Summit Day
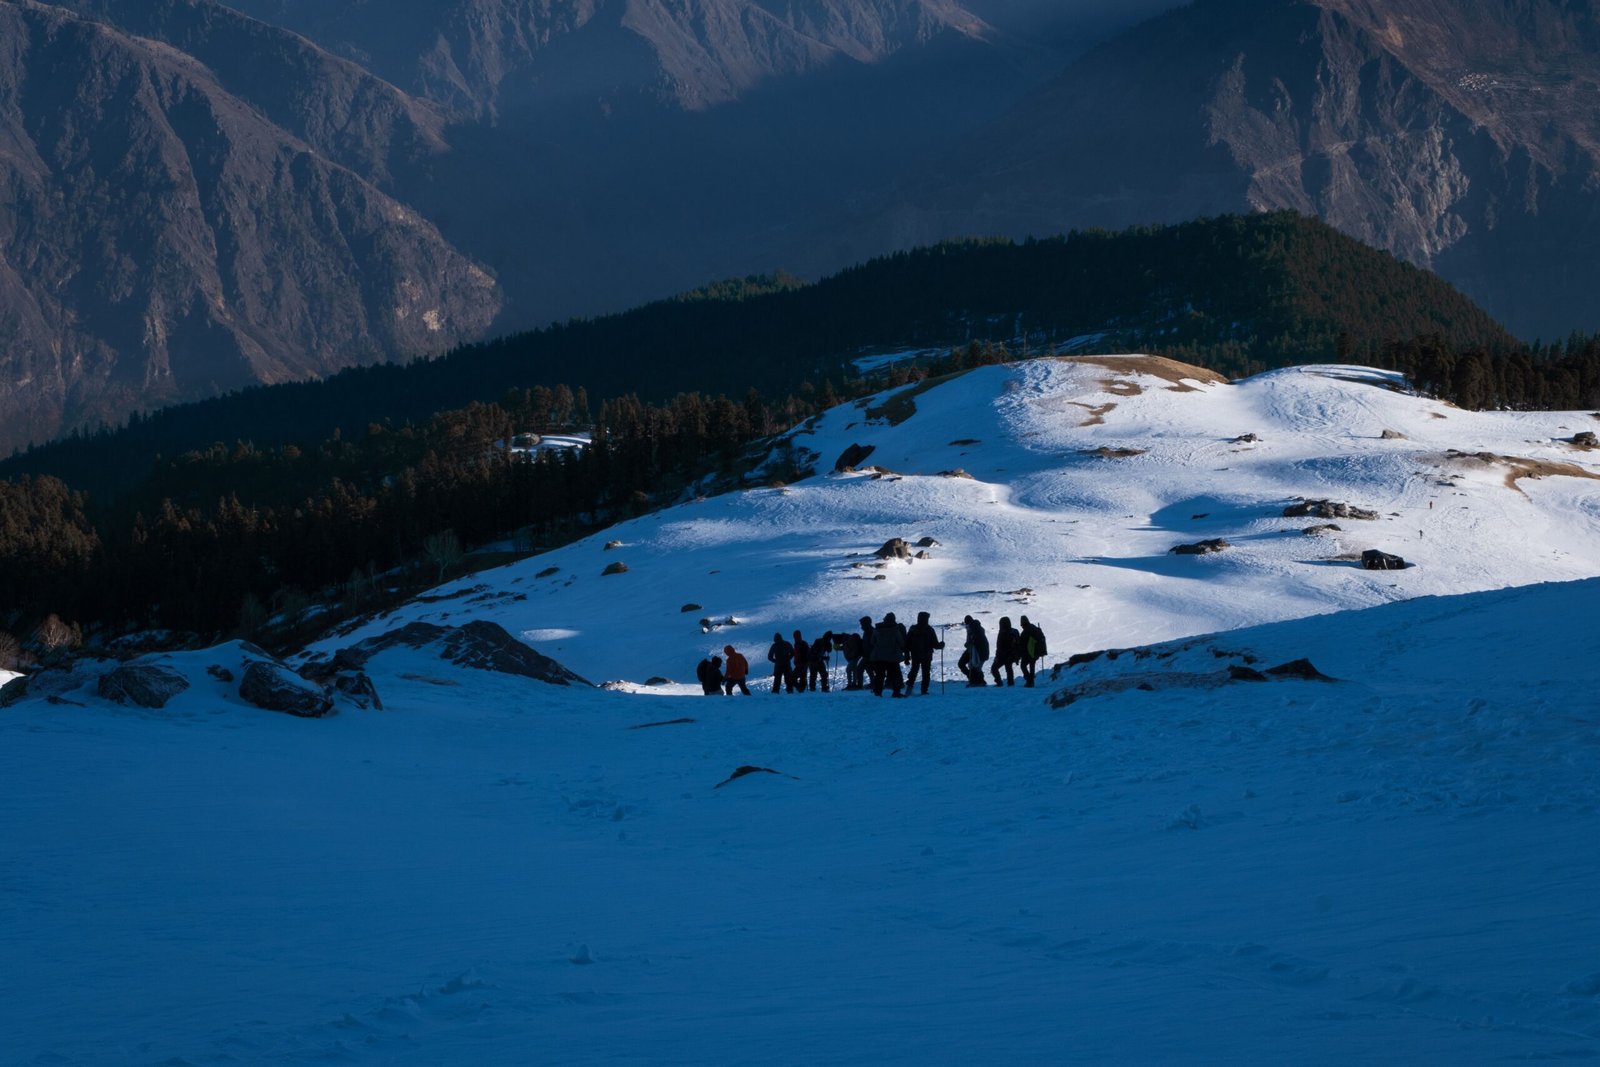
Summit day deserves special attention. Depending on the itinerary, you may walk close to 9 km that day and spend 7 to 8 hours on the trail. This makes Kedarkantha summit day the key workout target when planning your training. This is why your long walk in week five matters more than simply running fast for 20 minutes. You need to stay on your feet for hours.
The summit climb can also become steep. In winter, snow can make each step slower and more tiring. Your training should therefore include both uphill and downhill movement. Check Kedarkantha summit climb before you decide how hard your training should be.
A good test is simple. Walk for 90 minutes or more with a light pack and finish without feeling completely drained. If you can do that and recover well, you are building the kind of endurance Kedarkantha needs.
What Cardio Is Best for Kedarkantha?
Running is useful, but it is not your only option. Brisk walking, stairs, cycling, and incline walking can all improve your fitness. If you enjoy running, include two or three running sessions each week. If your knees do not like running, choose brisk walking or cycling instead.
The main aim is to keep your heart and lungs working for a long time. You are not training for a 100-metre race. For a person above 40, recovery becomes more important. Indiahikes suggests a 5 km target of about 40 to 45 minutes for this age group and recommends more focus on low-impact cardio and strength work.
Which Muscles Should You Train?
Strong legs are your biggest asset on Kedarkantha. Your thighs and hips push you uphill, while your legs also control your body during the long descent. Your calves help with repeated steps. Your core helps you stay stable on uneven snow. Your shoulders and back also need enough strength to carry your day pack.
Focus on simple exercises rather than fancy gym machines.
- Squats for thighs and hips
- Lunges for single-leg strength
- Step-ups for uphill movement
- Calf raises for lower-leg strength
- Glute bridges for hips
- Planks for core stability
- Push-ups for basic upper-body strength
Two strength sessions each week are enough for most beginners. You do not need to lift heavy weights just before the trek.
What If You Cannot Run?
Do not panic if running is not your thing. A trek does not ask you to run from Sankri to the summit. You can build strong cardio with brisk walking, stairs, cycling, or incline walking. Indiahikes suggests alternatives such as cycling and brisk walking for people who cannot run. It gives 10 km in under 90 minutes as a useful brisk-walking target.
If you have joint pain or an old injury, do not force yourself through a running plan. Choose a lower-impact option and get medical advice if needed.
How to Know If You Are Ready
A week before the trek, check your fitness without doing one last giant workout. Ask yourself a few honest questions. Can you walk for 90 minutes without frequent long breaks? Can you climb several flights of stairs at a steady pace? Can you walk with a light backpack? Can you recover after a long session?
Your answers matter more than one fast run. If you are around the 5 km in 38 to 40 minute range, can handle long incline walking, and have decent leg strength, you are in a good place to start. Bikat’s 3 km in 25 to 30 minutes and 30-floor stair benchmark is another useful reference.
Remember that these are fitness guides, not medical clearance. If you have a health problem, chest pain, severe breathlessness, or a recurring injury, speak with a doctor before hard training.
Food and Recovery During These Six Weeks
Training is only half the job. Your body needs food and sleep to turn exercise into better fitness. Eat regular meals with enough protein, carbs, vegetables, fruit, and fluids. Rice, roti, dal, eggs, paneer, curd, fruit, and nuts can all fit into a normal Indian diet.
Do not try to lose a lot of weight in six weeks. A weak body will not help you on a snowy climb. Sleep for enough hours each night. Take rest days seriously. Your Kedarkantha trek preparation should include recovery, not just hard workouts.
Your Final Kedarkantha Fitness Checklist
By the time you leave for Sankri, you should aim to have:
- Six weeks of regular training behind you
- Around 5 km running or jogging ability, if running suits you
- Strong brisk-walking endurance
- Regular stair or incline practice
- Two weekly strength sessions
- At least one 90-minute long walk
- Practice with your trekking shoes
- Practice with a light backpack
- Good sleep and recovery habits
You do not need perfect fitness. You need steady fitness. Kedarkantha is often a first Himalayan summit for Indian trekkers, and that is part of its charm. But the mountain still asks for respect, especially when snow, cold, early starts, and the long summit day come together.
Six weeks of smart training can change how that day feels. Along with fitness, make sure your Kedarkantha trek packing list covers the shoes, layers, and other items you will need once the training moves from your local road to the mountain. Instead of counting every step and wondering when the climb will end, you can look up, see the first light over the Garhwal peaks, and have enough energy left to enjoy why you came.