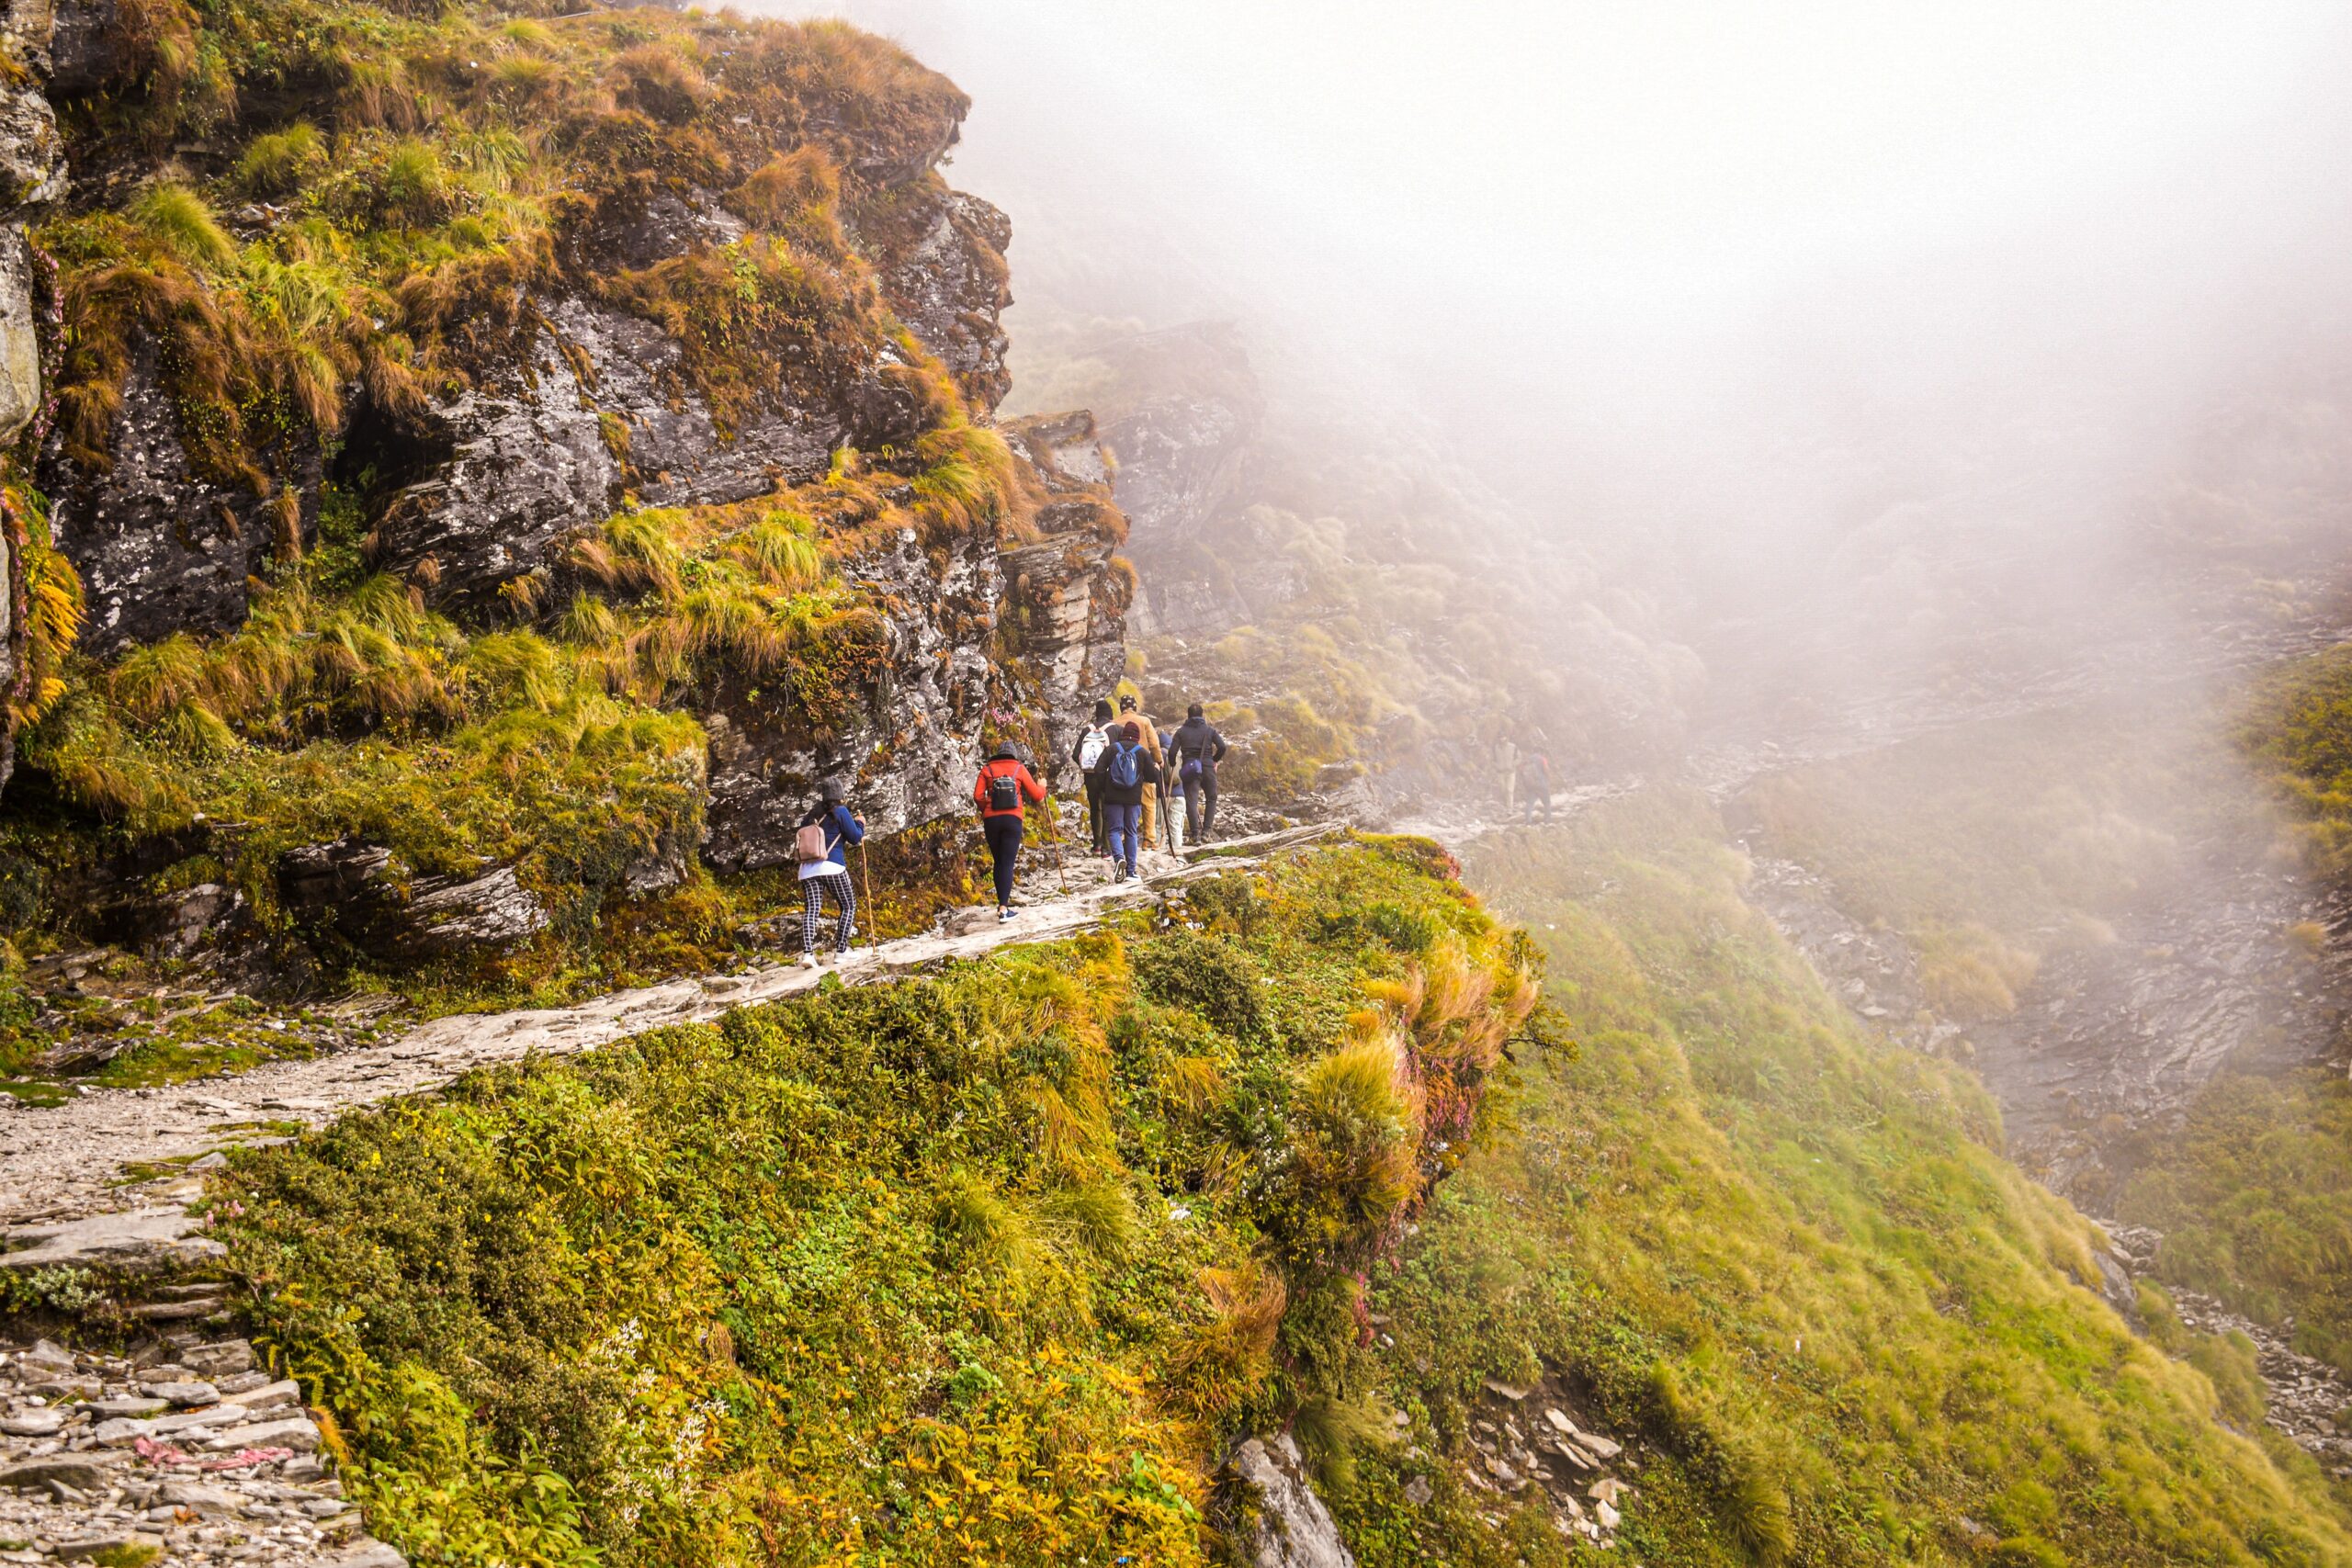
If you’re wondering whether the Kedarkantha gradual ascent beginner friendly reputation is deserved, the answer is yes. The trek climbs from about 6,400 ft in Sankri to 12,500 ft at the summit over four days, allowing your body to adjust steadily instead of facing a sudden jump in altitude.
If you’re planning your Kedarkantha Trek, this gradual climb is one of the biggest reasons it is recommended for first-time Himalayan trekkers.
For many people, Kedarkantha is their first Himalayan trek. The excitement is real, but so are the doubts. Will I get tired? Can I handle the altitude? Is the summit too difficult? These are common questions, and they deserve honest answers rather than empty promises.
Also read about: Our trek leaders on Kedarkantha
Why Kedarkantha’s Gradual Ascent Makes It Beginner Friendly
The biggest reason beginners enjoy Kedarkantha is its well-planned ascent profile. Instead of climbing thousands of feet in a single day, the route spreads the elevation gain across multiple trekking days.
From Sankri (6,400 ft), the trail passes through Juda Ka Talab, reaches Kedarkantha Base Camp, and finally climbs to the summit at around 12,500 ft. This gradual increase gives your muscles, lungs and energy levels time to adapt naturally.
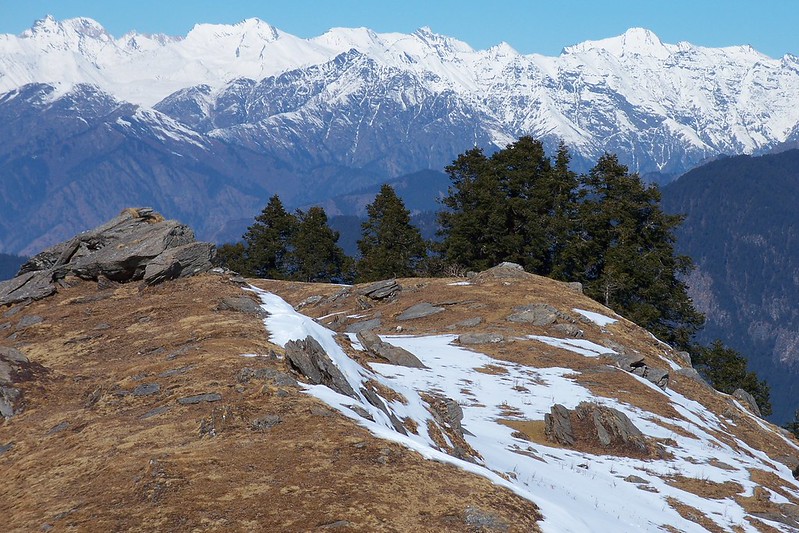
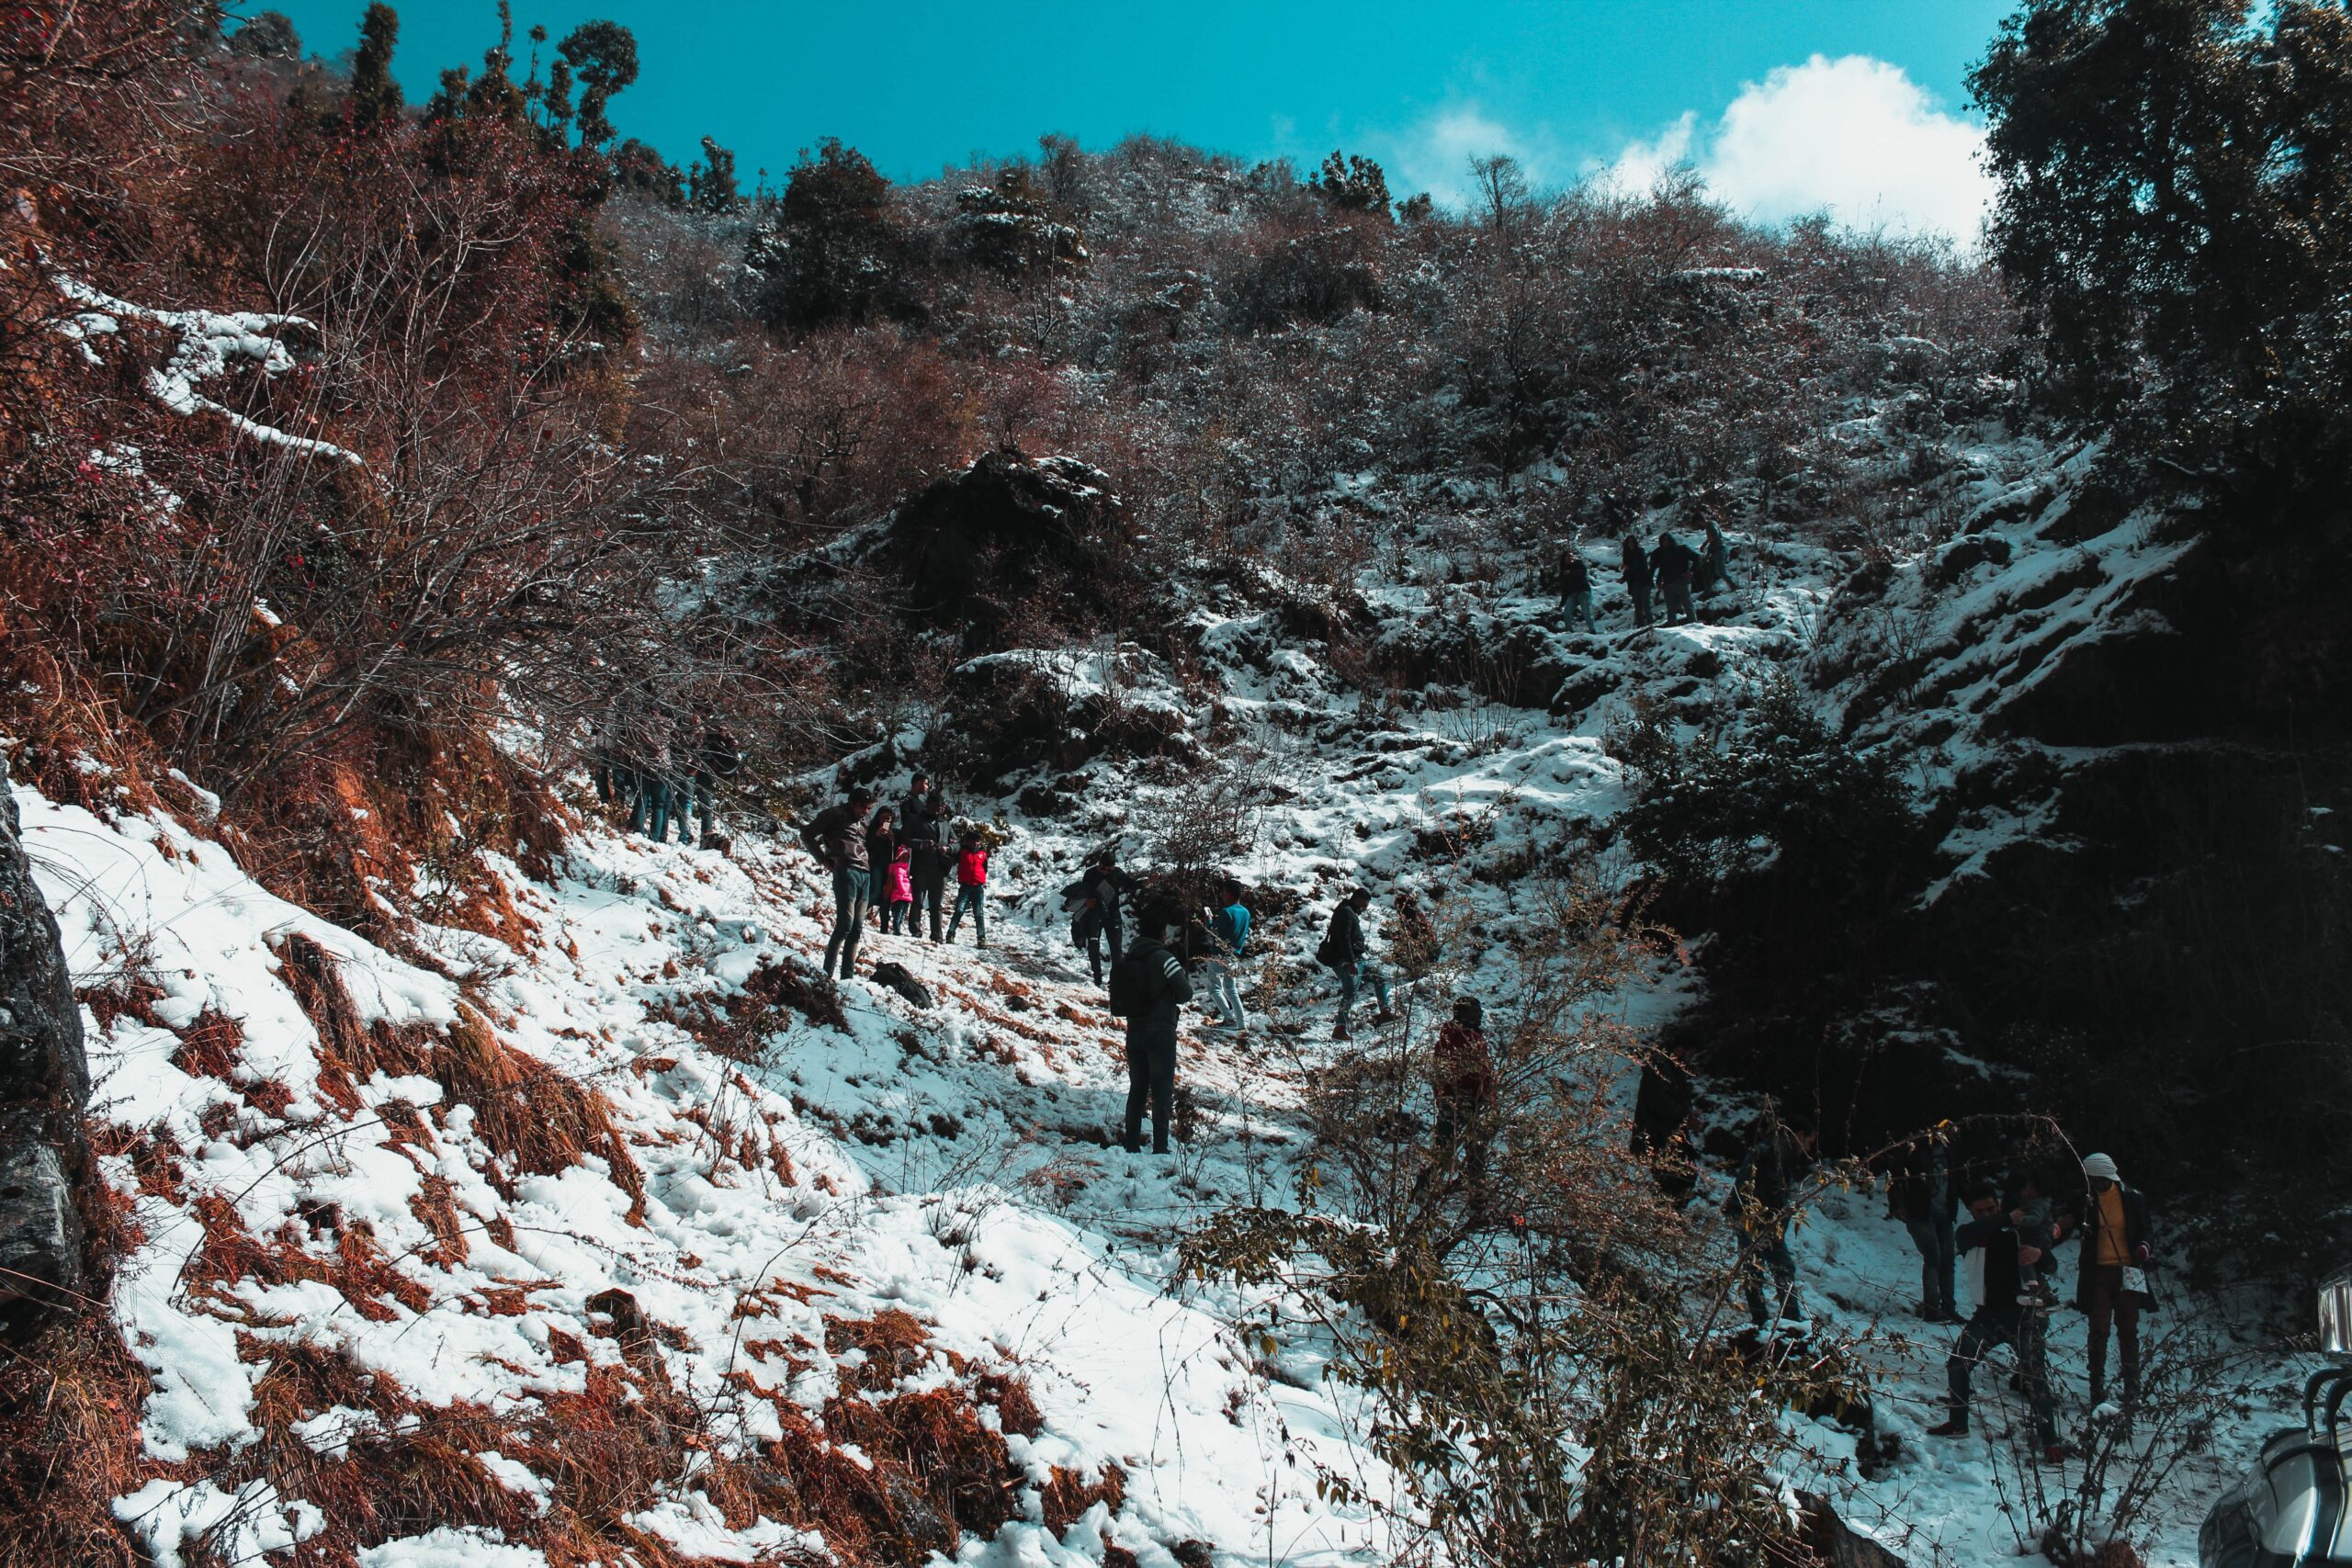
Unlike some Himalayan treks where the first day feels exhausting, Kedarkantha starts gently. You walk through forests, open meadows and snowy trails before reaching higher camps. The changing landscape also keeps the journey interesting, so you rarely feel like you’re walking the same terrain all day.
Day-wise Ascent at a Glance
Day | Route | Distance | Time | Altitude Gain |
Day 1 | Sankri to Juda Ka Talab | 4 km | 4–5 hours | 6,400 ft to 9,100 ft |
Day 2 | Juda Ka Talab to Kedarkantha Base Camp | 4 km | 3–4 hours | 9,100 ft to 11,200 ft |
Day 3 | Base Camp to Kedarkantha Summit, then descend to Hargaon | 6 km | 6–7 hours | 11,200 ft to 12,500 ft |
Day 4 | Hargaon to Sankri | 6 km | 4–5 hours | Mostly downhill |
Looking at the itinerary, you can see why the climb feels manageable. The altitude gain is divided across several days instead of being rushed into one long push.
The Summit Day is Steeper, But You’re Ready for It
It is important to set realistic expectations. Kedarkantha is beginner friendly, but the final climb to the summit is still the toughest part of the trek. The last stretch before the summit is noticeably steeper than the previous days. During winter, fresh snow can make this section slower, and you’ll need to focus on your footing. The good news is that you’ve already spent two nights at higher camps. Your body has adjusted to the altitude, and your legs have settled into a trekking rhythm.
Most first-time trekkers find the summit climb challenging but achievable. Reaching the top after a steady ascent feels far more rewarding than being pushed into a difficult climb on the very first day.
Read our detailed guide on:Kedarkantha Summit Day.
How the Gradual Ascent Helps Your Body
Many beginners worry more about altitude than walking distance, and that is understandable. A gradual climb gives your body time to adapt to lower oxygen levels. While no trek can completely eliminate the risk of Acute Mountain Sickness (AMS), slower altitude gain reduces the chances for many trekkers.
If you’d like to understand the symptoms, prevention and treatment in detail, read our guide on: Altitude Sickness on Kedarkantha Trek.
To help your body adjust, remember to:
- Drink at least 2 to 3 litres of water every day.
- Eat regular meals even if your appetite feels low.
- Walk at a comfortable pace instead of rushing ahead.
- Tell your trek leader immediately if you develop a persistent headache, nausea or dizziness.
Simple habits like these often make a bigger difference than trying to walk faster.
Every Campsite Adds to the Experience
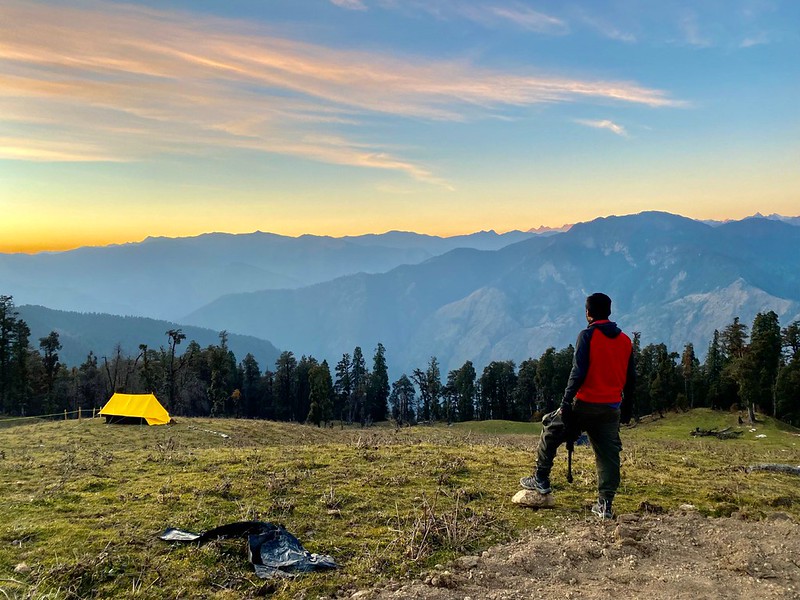
One reason we recommend Kedarkantha to first-time trekkers is that every campsite feels different. Juda Ka Talab welcomes you with a peaceful forest setting, especially beautiful after fresh snowfall.
Kedarkantha Base Camp opens up wide mountain views, making you feel like you’re finally in the heart of the Himalayas. After the summit, the trail towards Hargaon offers another perspective of the surrounding valleys. Instead of simply moving from one stop to another, each campsite becomes part of the adventure.
The Summit Rewards Every Step
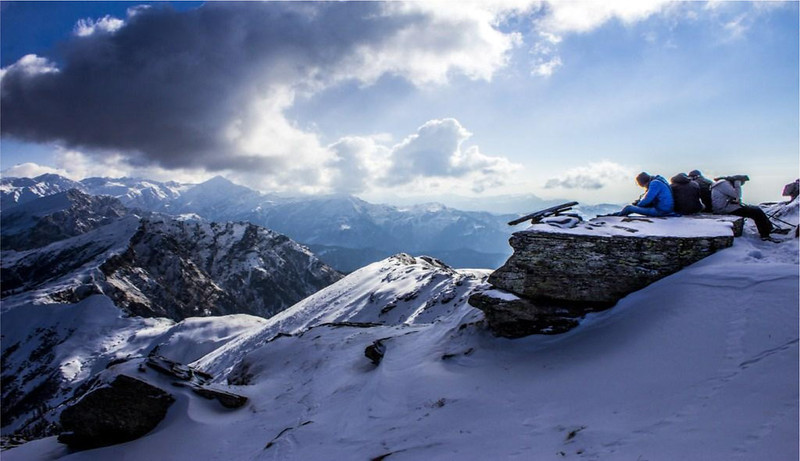
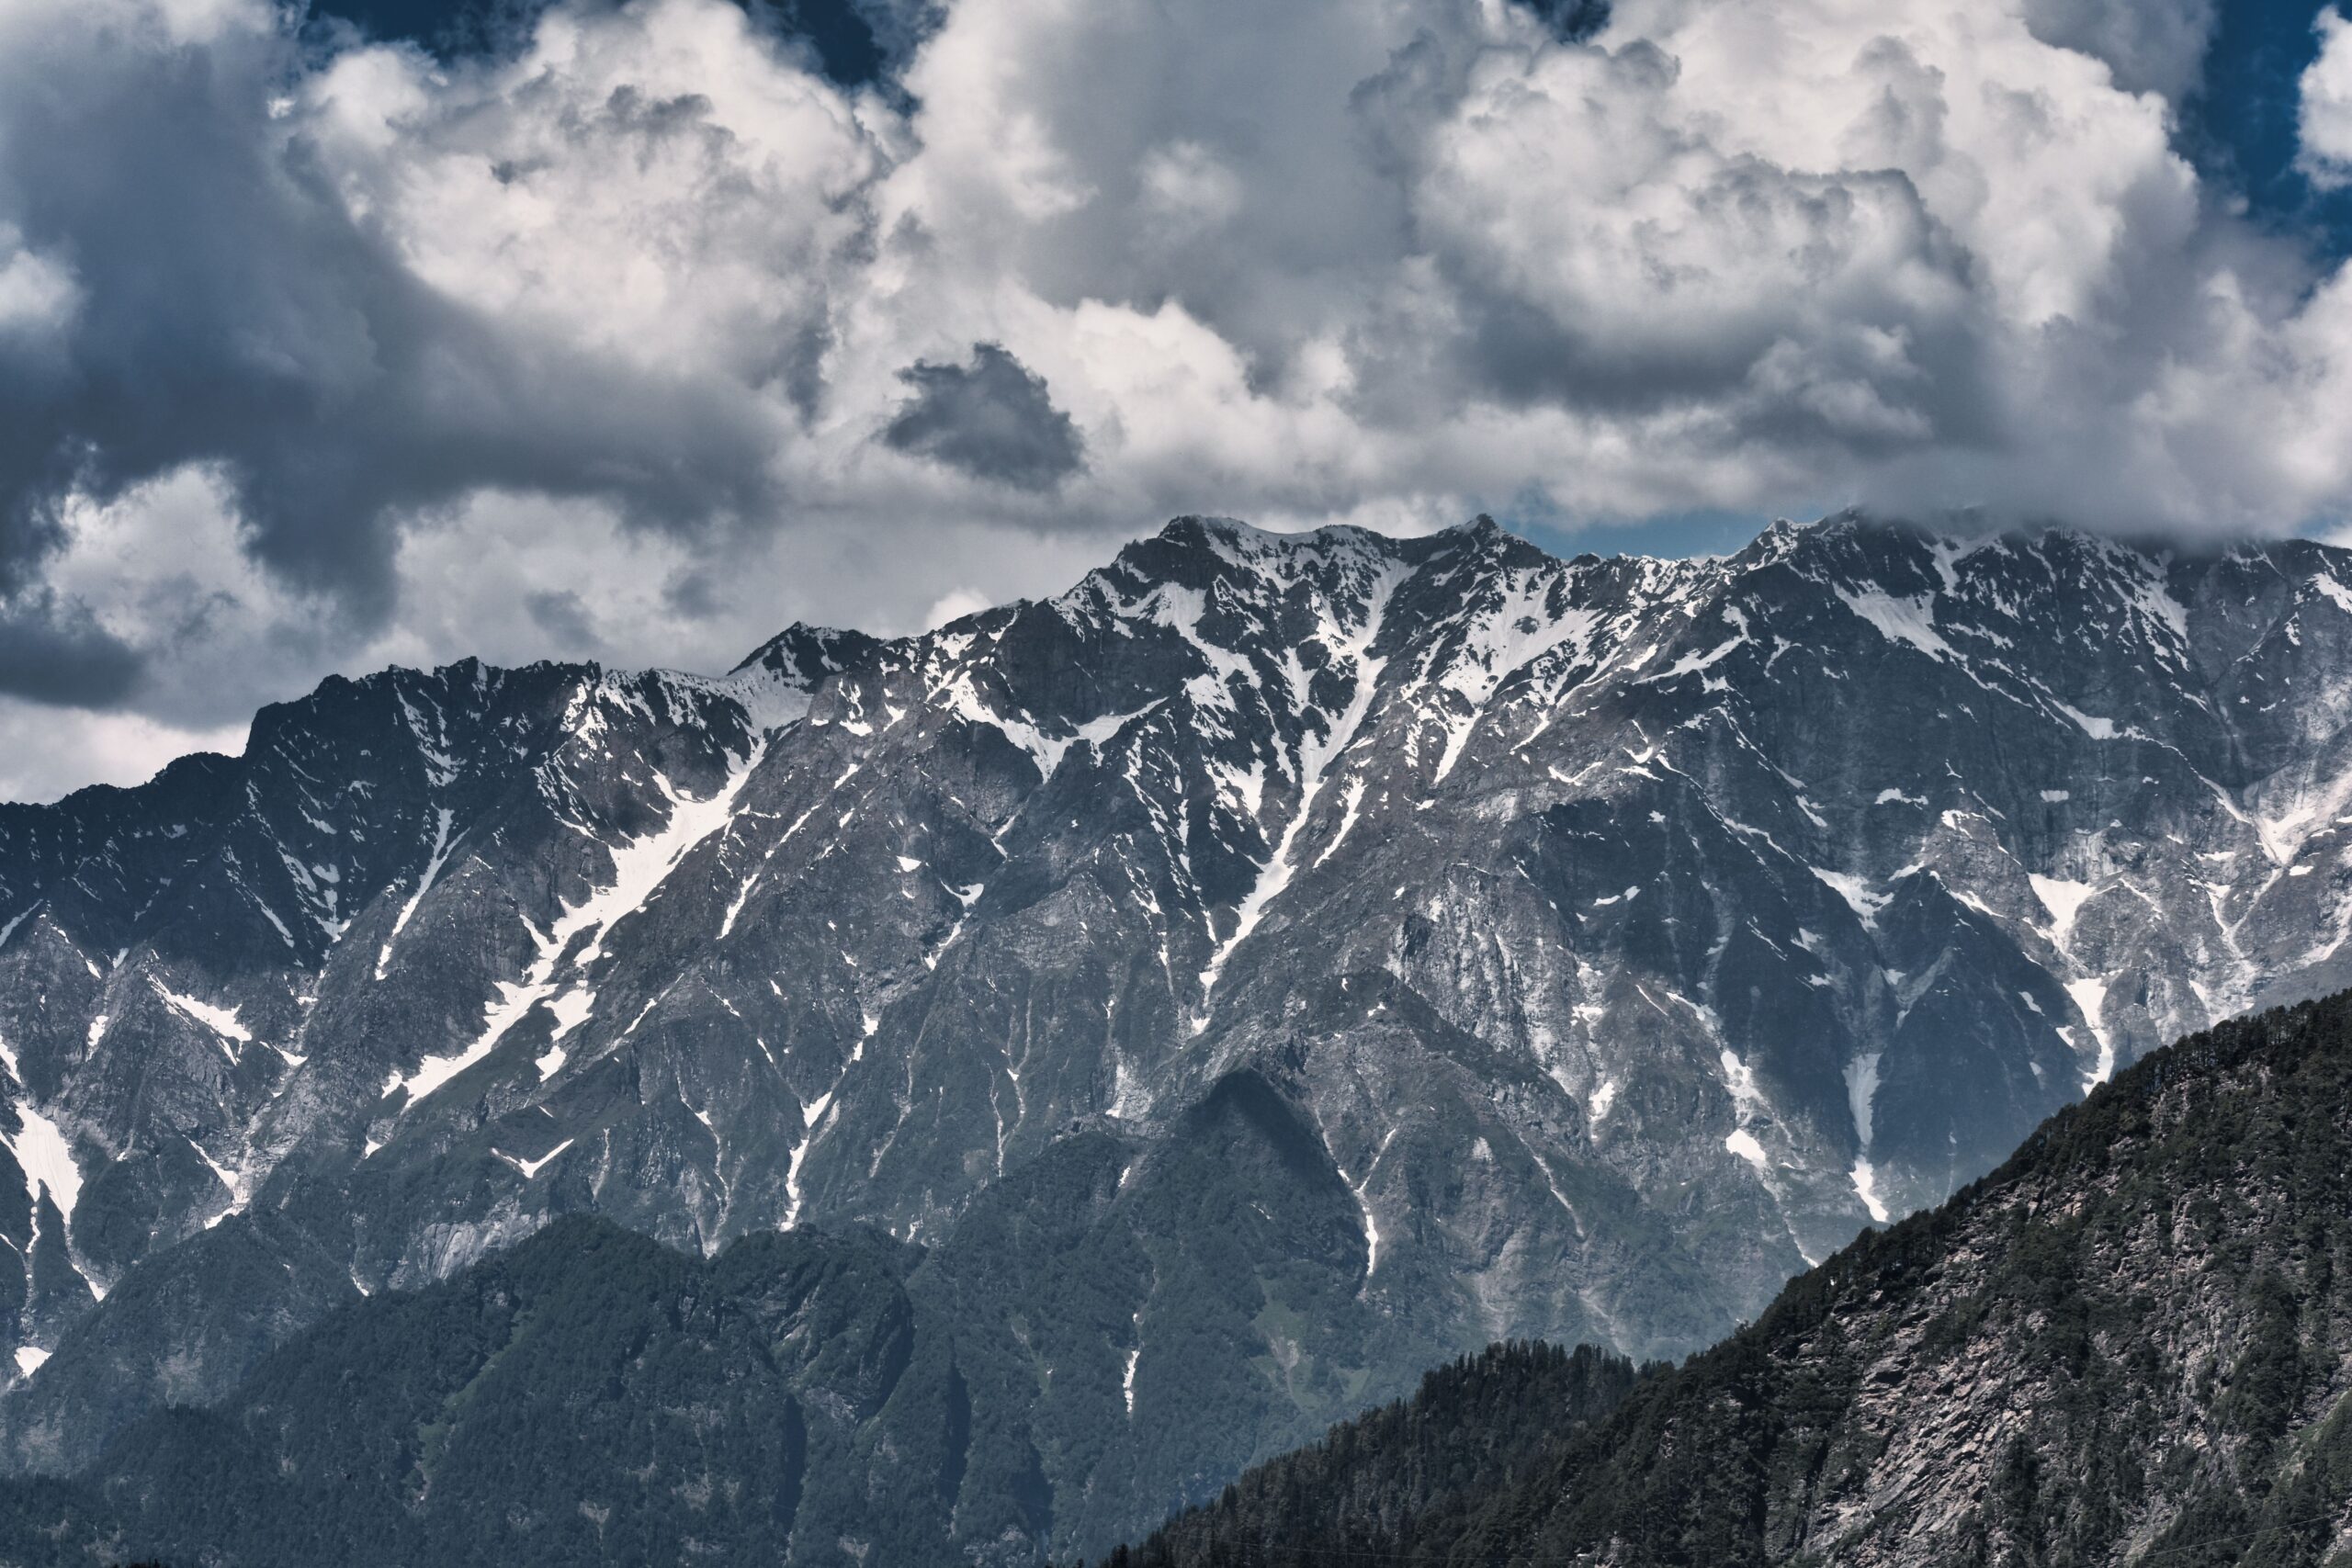
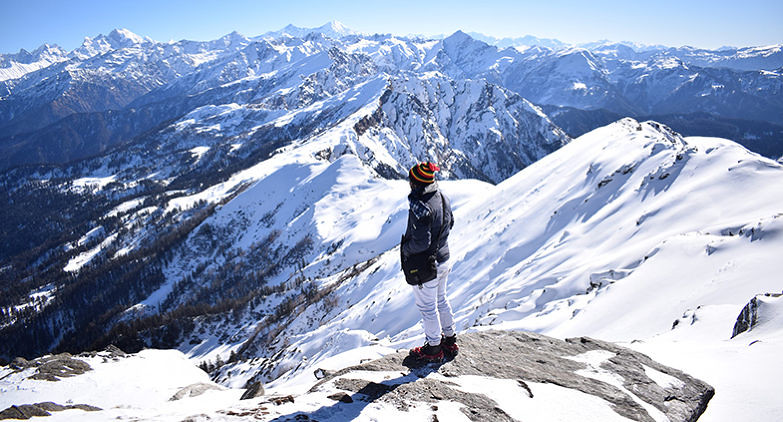
Standing on the summit is about much more than reaching 12,500 feet. As the sun rises, you’ll often see famous Himalayan peaks like Swargarohini, Bandarpoonch and Black Peak glowing in the early morning light. If you’d like to identify each mountain, must explore Peaks Visible from Kedarkantha Summit. It is one of those views that photographs never fully capture.
Many trekkers start this journey wondering whether they can finish it. By summit morning, those same people are already talking about which Himalayan trek they want to do next.
Why Kedarkantha Feels Easier Than Many Other Himalayan Treks
Compared with demanding Himalayan routes such as Bali Pass or Rupin Pass, Kedarkantha has shorter trekking days, better-spaced campsites and a more forgiving ascent profile.
That does not mean it is effortless. You’ll still walk in snow, climb uphill and deal with cold weather. Winter temperatures can fall below -10°C at night, so proper clothing is essential. The difference is that Kedarkantha introduces these challenges gradually instead of throwing everything at you on the first day.
A Few Kedarkantha-Specific Tips
A little preparation makes the experience much more enjoyable.
- Practice walking or climbing stairs for three to four weeks before your trek.
- Keep your water bottle inside your sleeping bag during very cold nights to prevent it from freezing. Choosing the right sleeping bag for Kedarkantha also helps you stay warm throughout the night.
- Carry trekking poles if you’re visiting after fresh snowfall.
- Follow a slow and steady pace. The mountains reward consistency, not speed.
- Pack warm gloves and dry socks because winter mornings can be extremely cold. A good pair of waterproof trekking boots is equally important, so don’t miss our guide to the best shoes for Kedarkantha Trek.
Also read about here: The queen of winter treks.
FAQs
Is Kedarkantha suitable for first-time trekkers?
Yes. Its gradual ascent, manageable walking distances and well-spaced camps make it one of the best Himalayan treks for beginners.
Do I need oxygen for Kedarkantha?
No. Most healthy trekkers complete the trek without supplemental oxygen. Proper acclimatisation, hydration and guidance from your trek leader are usually enough.
Which is the hardest day on the trek?
The summit day is the most demanding because the final section is steeper than the rest of the trail. By then, however, your body has already adapted to the altitude over the previous two days.
How fit should I be?
You don’t need to be an athlete. If you can comfortably walk 4 to 5 kilometres, climb stairs without excessive fatigue and prepare with regular exercise for a few weeks, you’ll be in a good position to enjoy the trek.