Drop-Off Point After Kedarkantha: Return to Dehradun Guide
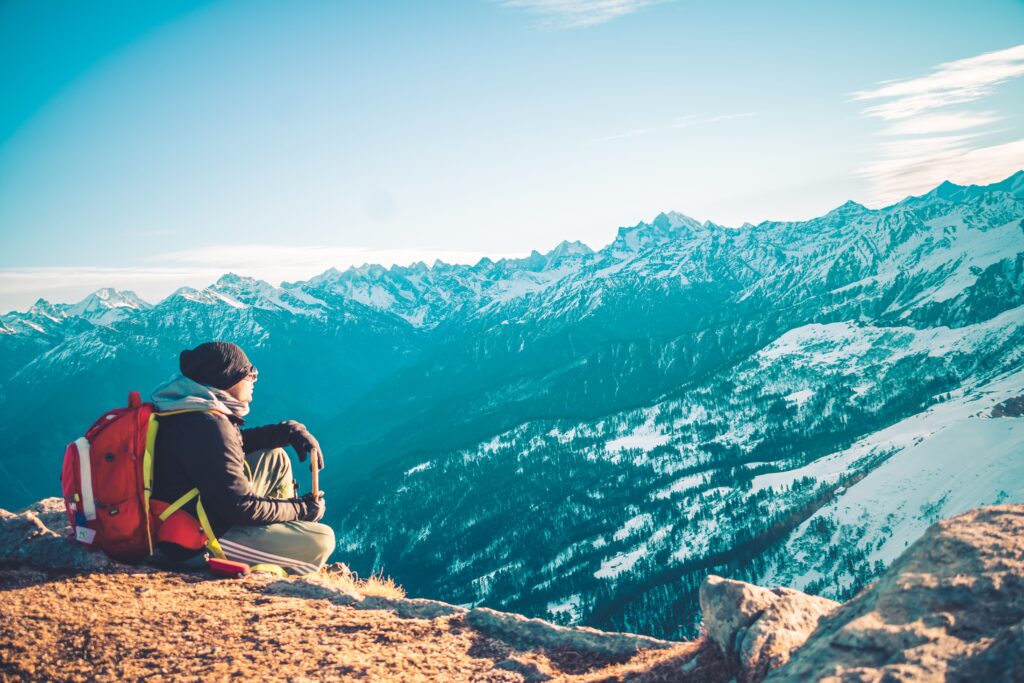
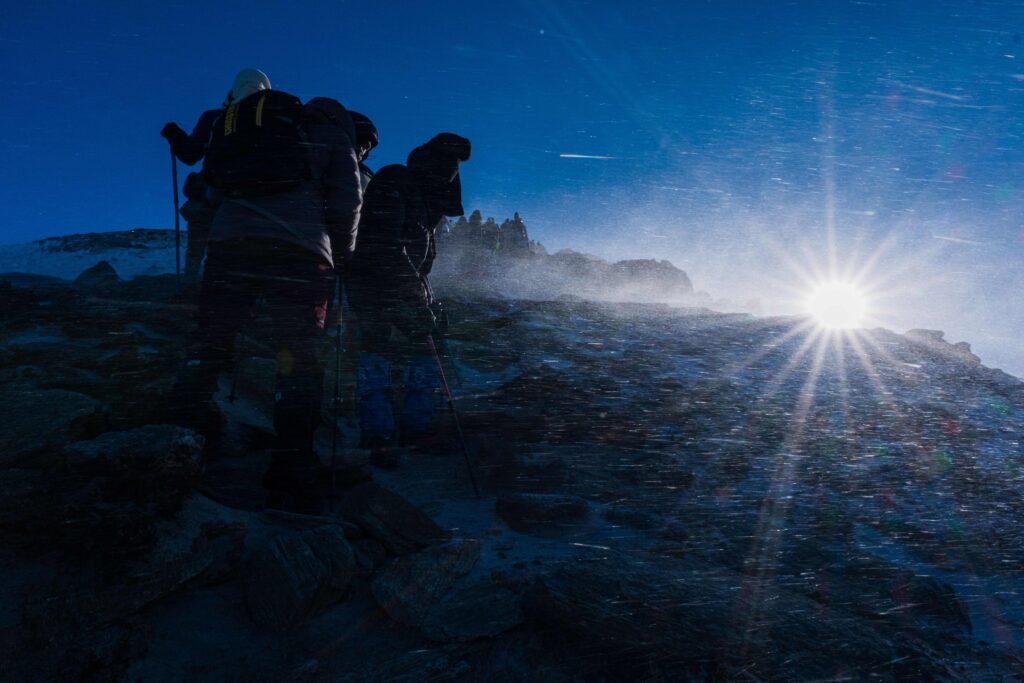
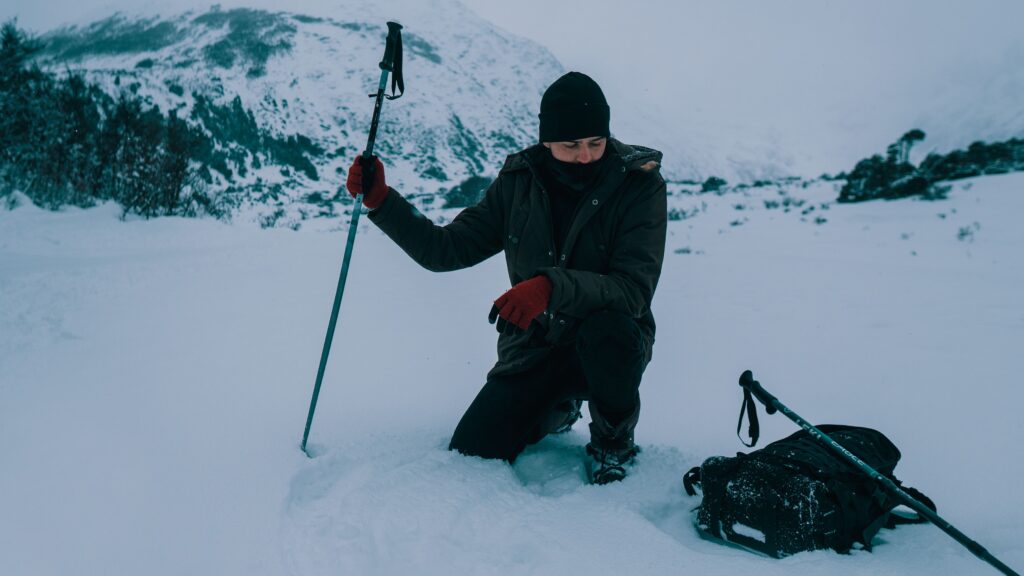
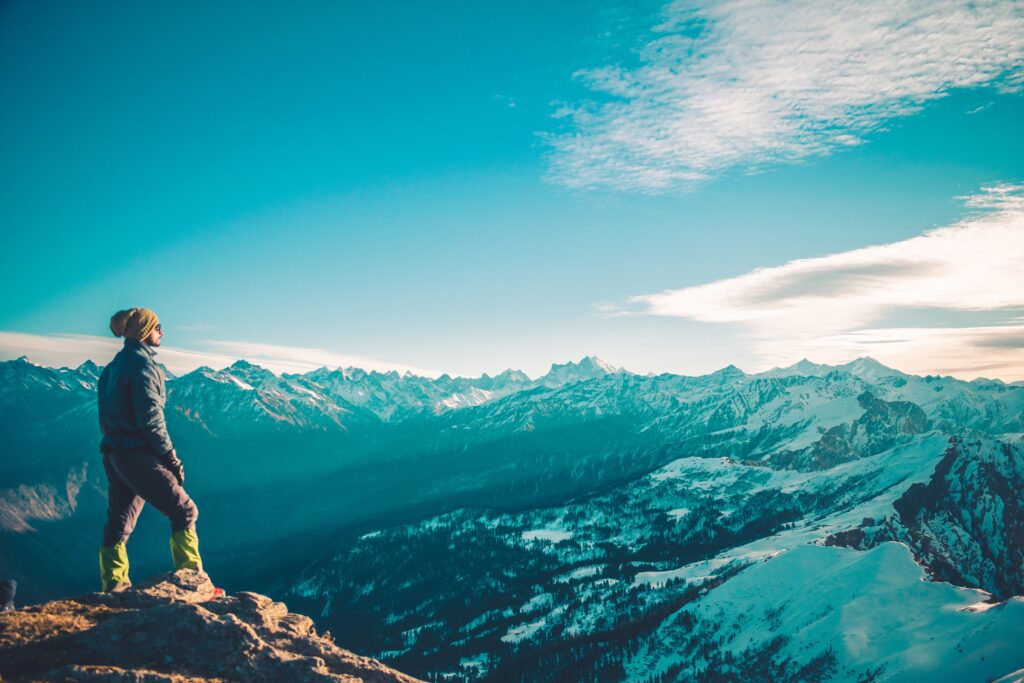
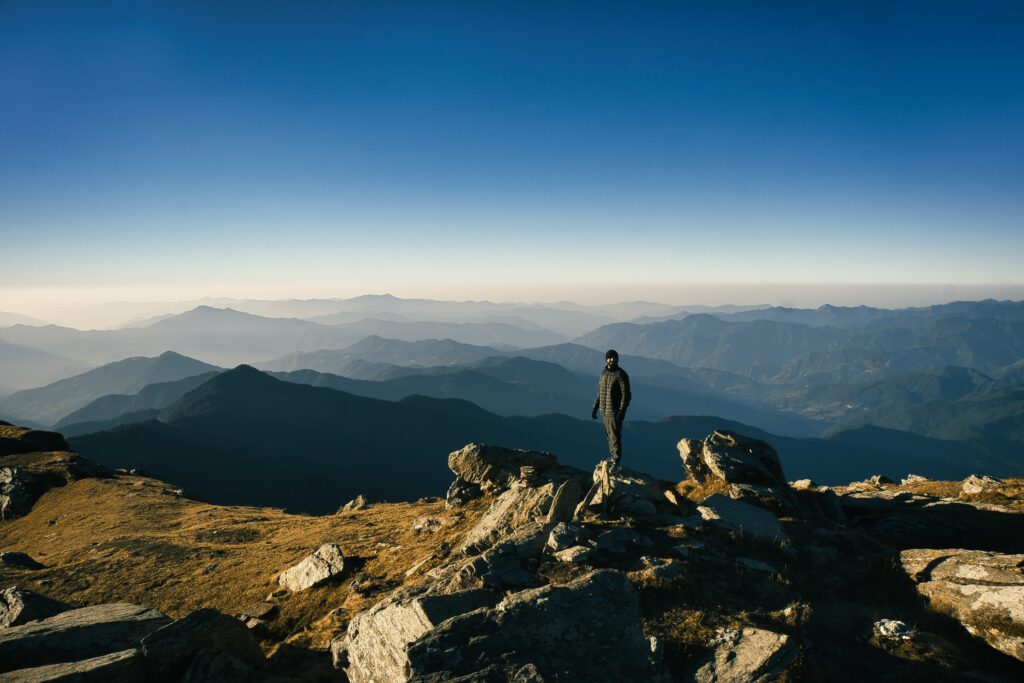
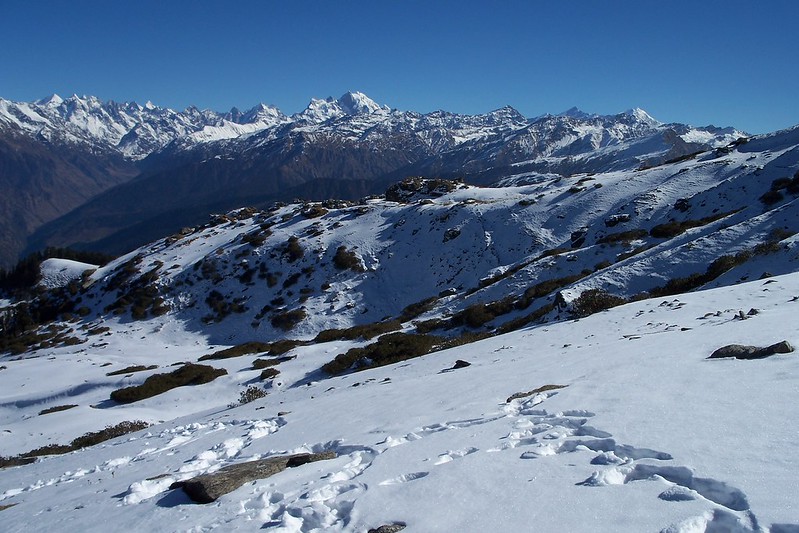
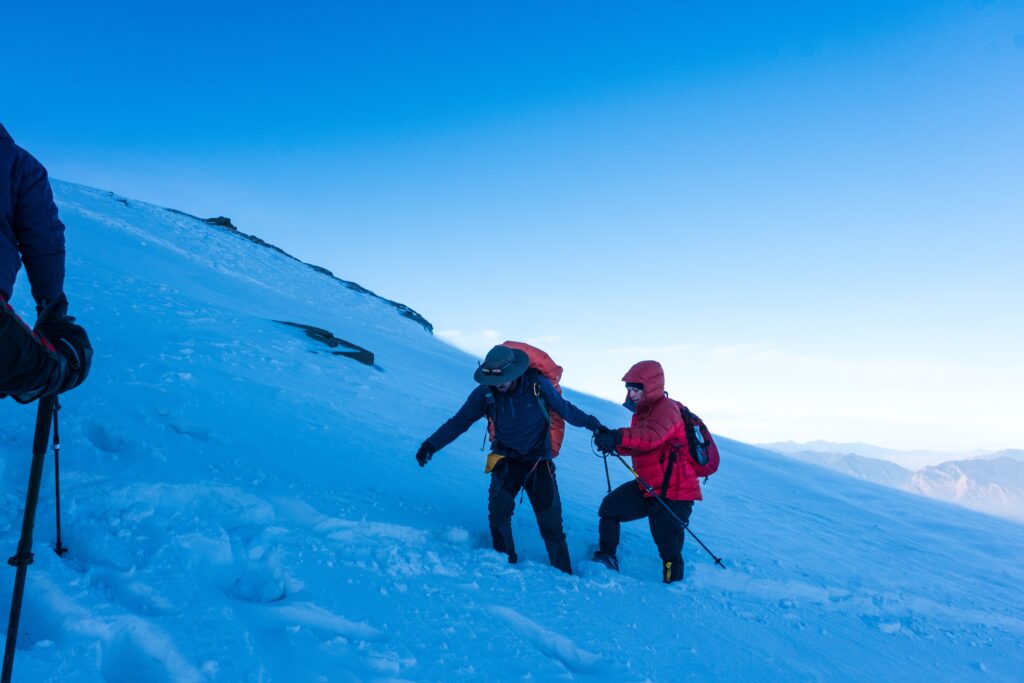
If you’re wondering about the Kedarkantha Trek drop off point in Dehradun, the answer is simple. Most trek organisers drop trekkers at Prince Chowk, close to Dehradun Railway Station. Most groups reach here between 6:00 PM and 7:30 PM, although the exact time depends on your trek operator, weather and road conditions. Many people think the trek ends at Sankri. It doesn’t. The long drive back to Dehradun is the final part of your journey. Knowing where you’ll be dropped, when you’ll arrive, and how to plan your train or flight can save you from a lot of last-minute stress. Where Is the Kedarkantha Trek Drop-Off Point in Dehradun? Almost every organised Kedarkantha trek finishes at Prince Chowk in central Dehradun. It is only a short distance from Dehradun Railway Station and is well connected by auto-rickshaws, taxis and app cabs. Trek companies use this spot because it is easy for everyone. Whether you are heading to the railway station, ISBT, a hotel or the airport, you can find transport without much trouble. If you’re starting and ending your trip in the city, it also helps to know the Dehradun pickup point for Kedarkantha Trek so your entire journey stays well planned. After spending five days in the mountains, reaching a busy city crossing almost feels strange, but it also means your journey home has become much easier. When Does the Return Journey Reach Prince Chowk? Most groups leave Sankri Village early on the last day. The drive back usually takes 8 to 10 hours, depending on traffic and road conditions. A normal day looks like this: Leave Sankri around 6:00 AM to 7:00 AM Stop for breakfast on the way Lunch near Mori or Purola Reach Prince Chowk between 6:00 PM and 7:30 PM These timings are only estimates. Every trek company follows its own schedule, and mountain roads can change your plans without warning. Fresh snowfall, road repairs or a small landslide can easily delay the journey. We still remember one winter when our group reached Prince Chowk almost two hours late because fresh snow slowed traffic near Sankri. Nobody was worried because everyone had kept enough extra time before their train. That small decision made the last day much more relaxed. When Should You Book Your Train or Flight? This is one of the most important decisions after your trek. Many trekking companies suggest booking trains after 9:00 PM if you plan to travel on the same day. That extra buffer gives you enough time even if the drive takes longer than expected. Many experienced trekkers also keep a buffer day after the Kedarkantha trek, especially during winter when weather can change quickly. If your budget allows, an even better option is to stay one night in Dehradun and travel home the next morning. After several days of trekking and a full day’s drive, a hot shower and a proper night’s sleep often feel better than rushing to catch a train. Why Do Most Trek Companies Use Prince Chowk? Prince Chowk is one of the best-connected places in Dehradun. From here you can easily reach: Dehradun Railway Station ISBT Bus Stand Hotels near the city centre Jolly Grant Airport by taxi Many trekkers stop nearby for tea or dinner before leaving the city. After days of simple mountain meals, a plate of hot momos or butter chicken tastes even better. If you have an early train or flight the next day, staying at one of the hotels in Dehradun for Kedarkantha trekkers can make the journey much more comfortable. Can the Drop-Off Point Change? Sometimes, yes. Heavy traffic, road work or local events can force organisers to use a nearby location instead of Prince Chowk. This does not happen often, but it is possible. Ask your trek leader on the evening before leaving Sankri to confirm the expected drop-off point and arrival time. It takes only a minute and removes any confusion. What Should You Do Before the Return Journey? A little planning makes the last day much easier. Keep your phone, wallet and ID easy to reach. Charge your power bank before leaving Sankri. Keep snacks and a water bottle with you. Download your train or flight ticket in case the network becomes weak. Keep some cash for food or local transport. These are small things, but they help after a long day on the road. If you are travelling on your own instead of using your trek organiser’s transport, knowing how to travel from Dehradun to Sankri independently before your trip can also make the return journey easier to plan. Is Airport Drop Included? Usually, no. Most Kedarkantha trek packages end at Prince Chowk. If you need to reach Jolly Grant Airport, you will normally have to book a separate taxi unless your operator has included airport transfer. It is always better to confirm this before booking your trek rather than assuming it is part of the package. Should You Stay in Dehradun for One Night? We think it is worth considering. Many trekkers try to save one night’s hotel cost by travelling home immediately. Sometimes that works well. But after walking for days and then sitting in a vehicle for almost ten hours, another overnight train can feel exhausting. A comfortable hotel, good food and one night’s rest often become the perfect end to the adventure. If you’re travelling during the busy winter season, must know about the Kedarkantha trek crowd guide before your trip can also help you plan your return more smoothly. FAQs Is Prince Chowk close to Dehradun Railway Station? Yes. It is only a short drive or auto-rickshaw ride from the station. Do all trek organisers use Prince Chowk? Most of them do, although a few may choose a nearby location depending on traffic or their itinerary. Can I leave the vehicle before Prince Chowk? Sometimes. If your stop falls on the way, speak to your trek leader in advance. Is the arrival time fixed? No. Most groups reach
Drop-Off Point After Kedarkantha: Return to Dehradun Guide Read More »