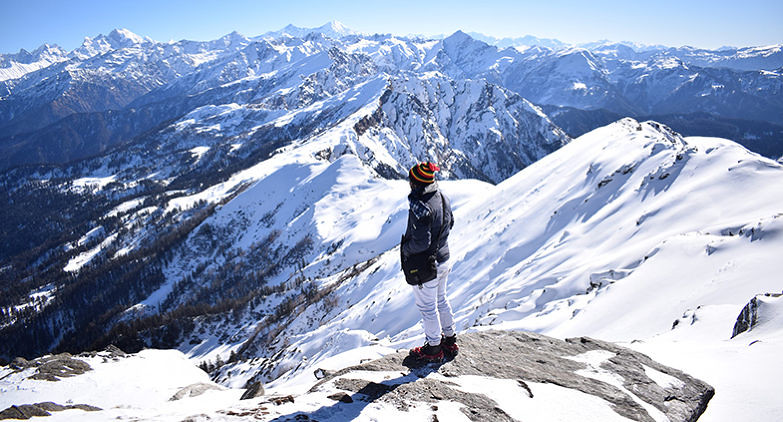
The kedarkantha trek route map follows a simple but beautiful trail from Sankri to Juda Ka Talab, then to Kedarkantha Base Camp, the summit, and finally back through Hargaon before returning to Sankri. That is the route most trekkers follow.
And honestly, that simplicity is one reason why Kedarkantha remains one of the best beginner Himalayan treks in India. You do not need technical climbing skills. You do not need ropes or mountaineering experience. But you still get dense forests, snowy ridges, the frozen lake, summit views, and proper winter camping in the Himalayas.
Most first-time trekkers only worry about one thing before booking. “Will I understand the trail properly once I reach there?” The good part is that the trail is quite straightforward during the main winter season because hundreds of trekkers use the same path every week.
Still, understanding the full route before reaching Sankri helps a lot. You know where the climb gets steep. You understand where the snow starts. And you stop feeling nervous about summit day.
Also read here about: Govind Pashu Vihar sanctuary
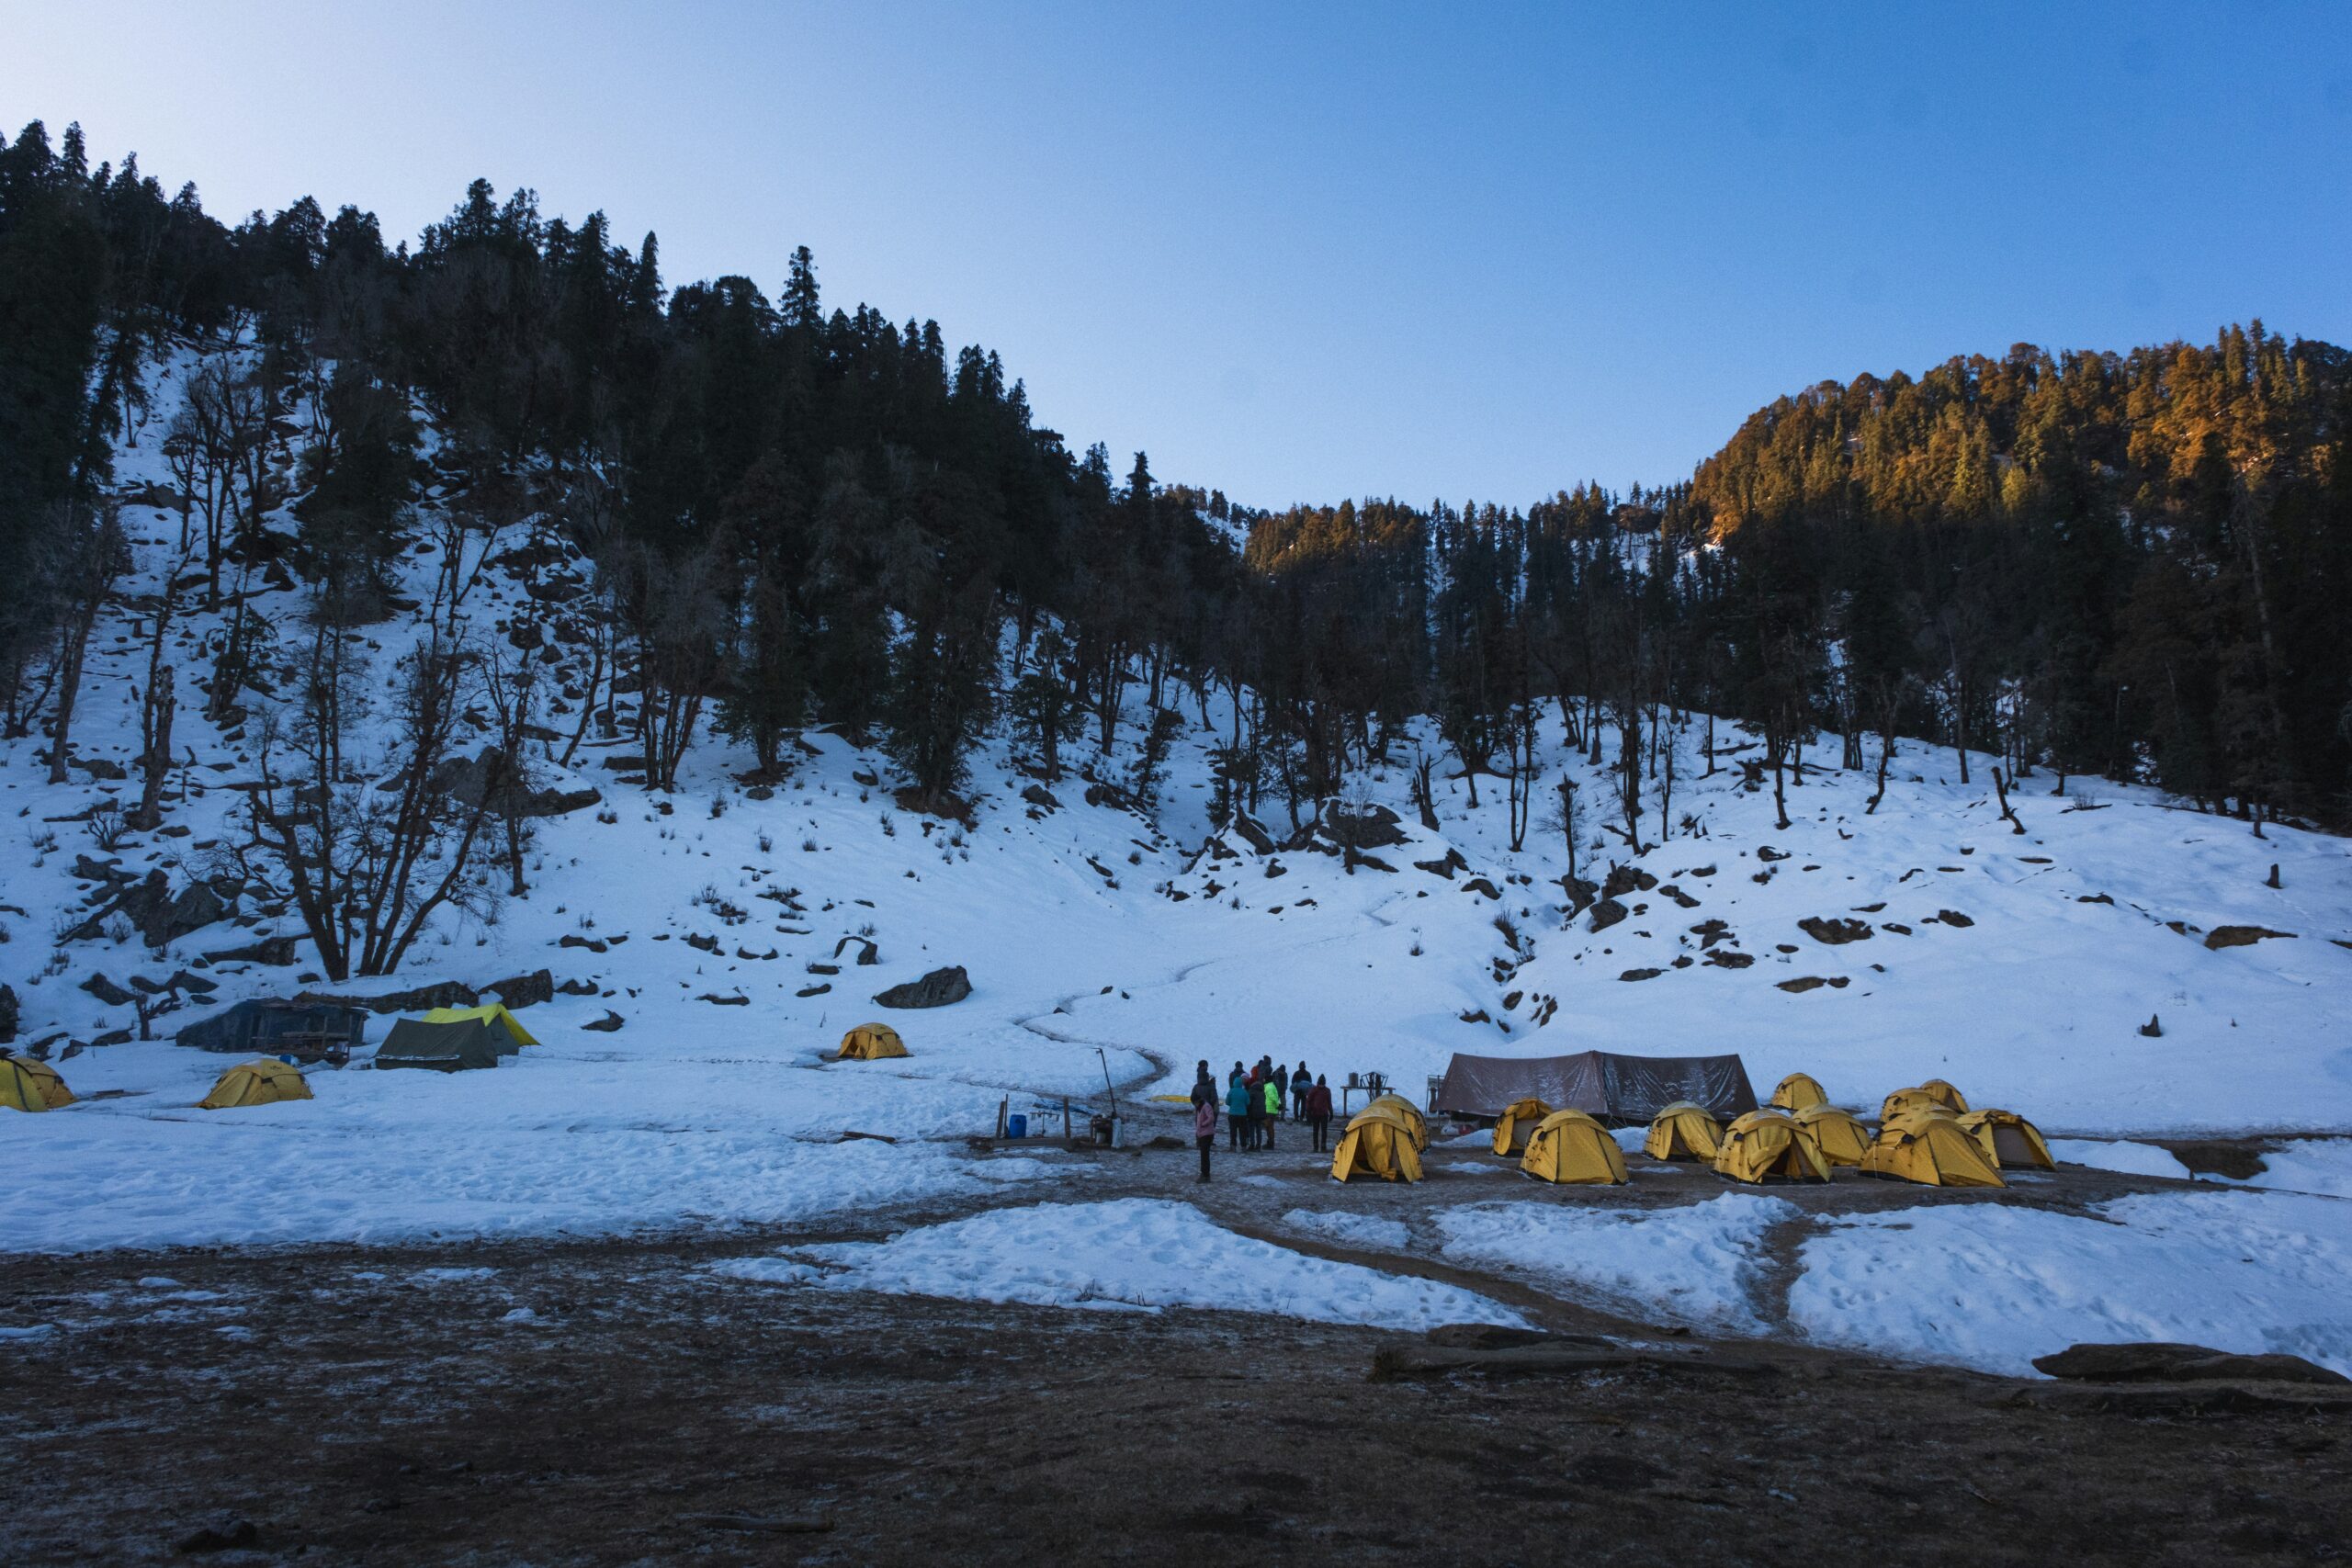
Kedarkantha Trek Route Map Overview
The standard kedarkantha trek route sankri usually looks like this:
Day | Route | Distance | Altitude |
Day 1 | Dehradun to Sankri | 190 km drive | 6,400 ft |
Day 2 | Sankri to Juda Ka Talab | 4 to 5 km trek | 9,100 ft |
Day 3 | Juda Ka Talab to Kedarkantha Base Camp | 3 to 4 km trek | 11,250 ft |
Day 4 | Base Camp to Summit to Hargaon | 6 km approx | 12,500 ft |
Day 5 | Hargaon to Sankri | 4 to 5 km trek | 6,400 ft |
The total kedarkantha trekking distance stays close to 20 to 23 kilometres depending on the campsite variation used by your operator. Some companies return through Juda Ka Talab again. Others descend through Hargaon campsite, which gives slightly different forest views on the way back.
Sankri to Juda Ka Talab Route
The actual trek starts from Sankri village in Uttarkashi district. Sankri feels like a small wooden Himalayan village frozen in time. Tiny guesthouses sit beside apple orchards. Local kids run through narrow lanes wearing school sweaters even in snow season. During winter mornings, smoke slowly rises from village kitchens while trekkers rush around adjusting backpacks and gaiters.
The trail from Sankri to Juda Ka Talab passes through dense pine and oak forests. In December and January, snow often starts appearing within the first hour itself. This section is not very steep. Most beginners manage it comfortably with slow pacing and enough water breaks.
Along the route, you cross:
- Wooden bridges
- Frozen water streams
- Small clearings called “thach”
- Dense pine forest sections
- Snow-covered bends during peak winter
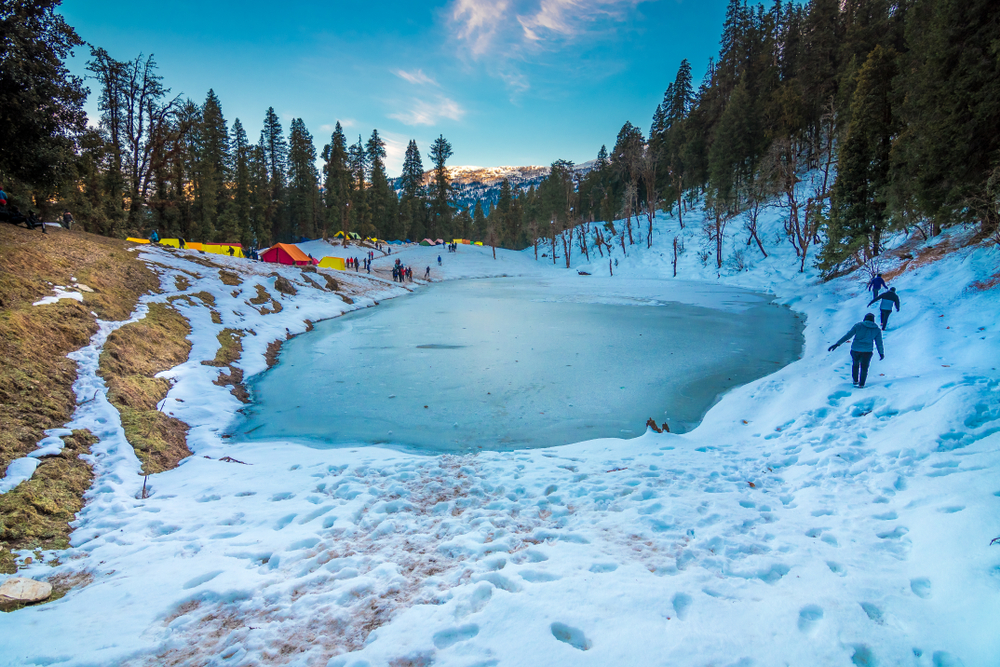
Juda Ka Talab itself is one of the prettiest campsites on the trek. During heavy winter, the lake partially freezes and reflects tall pine trees around it. Many trekkers actually feel this campsite is more beautiful than the summit. Night temperatures here drop sharply after sunset. In January, minus 5°C to minus 8°C is common.
If you are trekking during peak snowfall season, reading about the Kedarkantha trek in January helps set realistic expectations for snow depth and weather conditions.
Juda Ka Talab to Kedarkantha Base Camp
This section feels very different from Day 1. The forests slowly start opening up. Snow patches become deeper. The climb also gets steeper compared to the previous day. Many trekkers first notice the altitude here. Breathing becomes slower during uphill stretches. Nothing dangerous usually happens because Kedarkantha gains altitude gradually, but your body definitely reminds you that you are now climbing above 10,000 feet.
The route from Juda Ka Talab to Base Camp usually takes around 3 to 4 hours depending on snow conditions. And this is the section where many people finally understand why fitness matters on Himalayan treks. A person who comfortably walks five kilometres in a city may still struggle here because snow walking drains energy quickly.
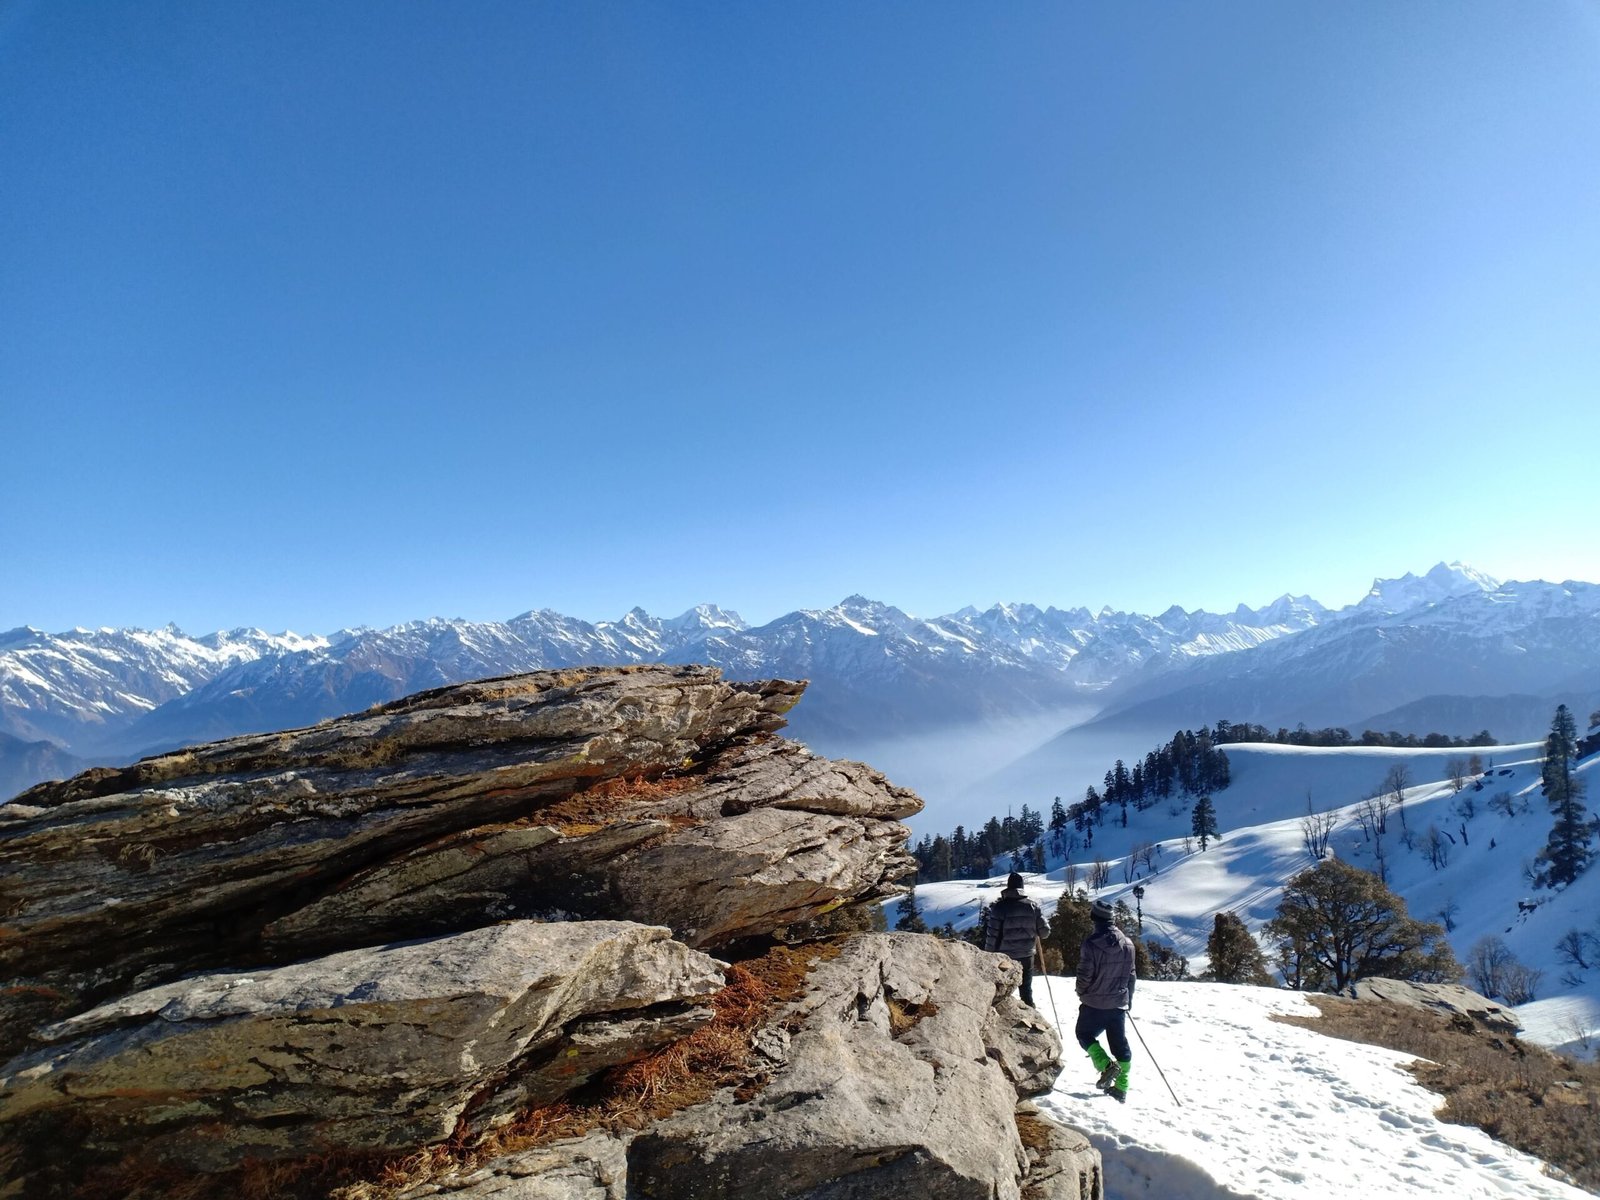
The Kedarkantha Base Camp sits at roughly 11,250 feet. On clear evenings, you can already see famous Himalayan peaks visible from Kedarkantha.
These usually include:
- Swargarohini
- Bandarpoonch
- Black Peak
- Ranglana
- Gangotri ranges
Sunset from Base Camp often turns the snow orange for a few minutes. Cameras never fully capture that colour properly. You really have to stand there to feel it. Before attempting this trek, beginners should also understand the actual Kedarkantha trek difficulty level properly instead of assuming it is just a casual snow walk.
Kedarkantha Summit Route
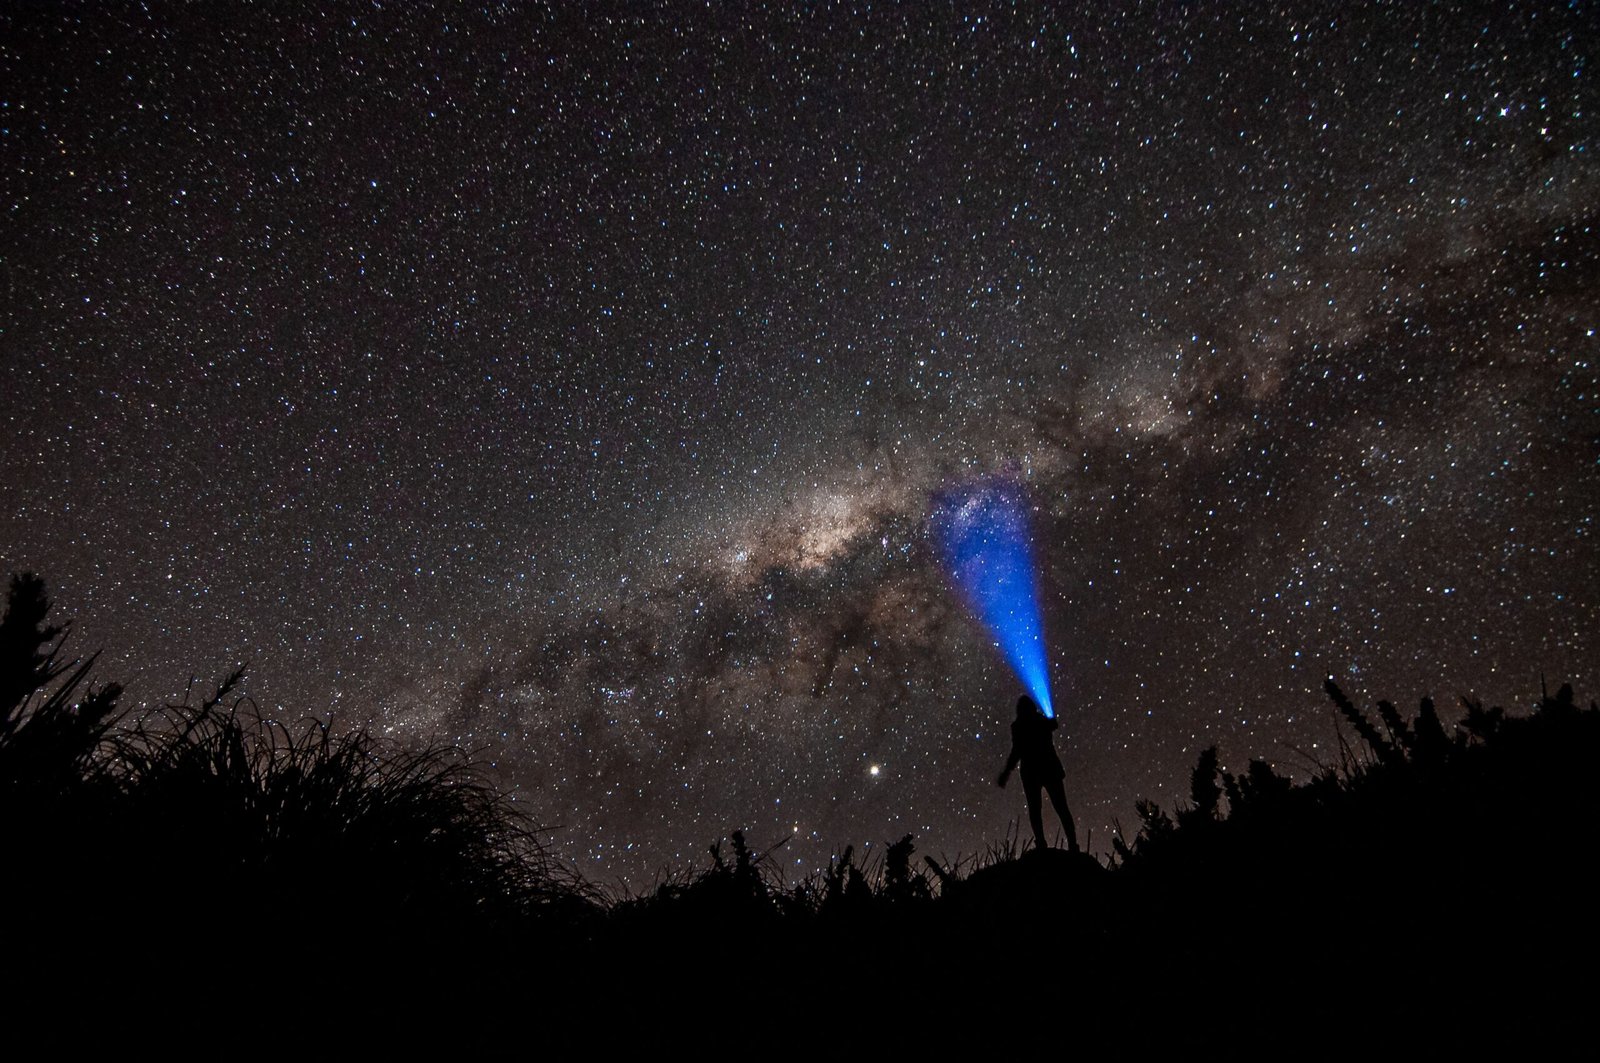
Summit day usually starts around 2:00 AM to 3:00 AM. Trekkers wear headlamps and begin climbing in darkness because the goal is to reach the summit before sunrise. This is also the toughest part of the entire trek. The route becomes steeper near the summit ridge. During heavy snowfall, microspikes become essential because the trail turns slippery.
Still, the climb remains manageable for most beginners if they move slowly. One thing surprises many trekkers here. The summit is not just an open snowy point. There is also a small temple area dedicated to Lord Shiva, Goddess Parvati, and Lord Ganesha near the top.
Kedarkantha at 12,500 feet, gives a full 360-degree Himalayan view. On clear mornings, you can spot:
- Har Ki Dun valley side
- Swargarohini massif
- Bandarpoonch peak
- Black Peak
- Yamunotri ranges
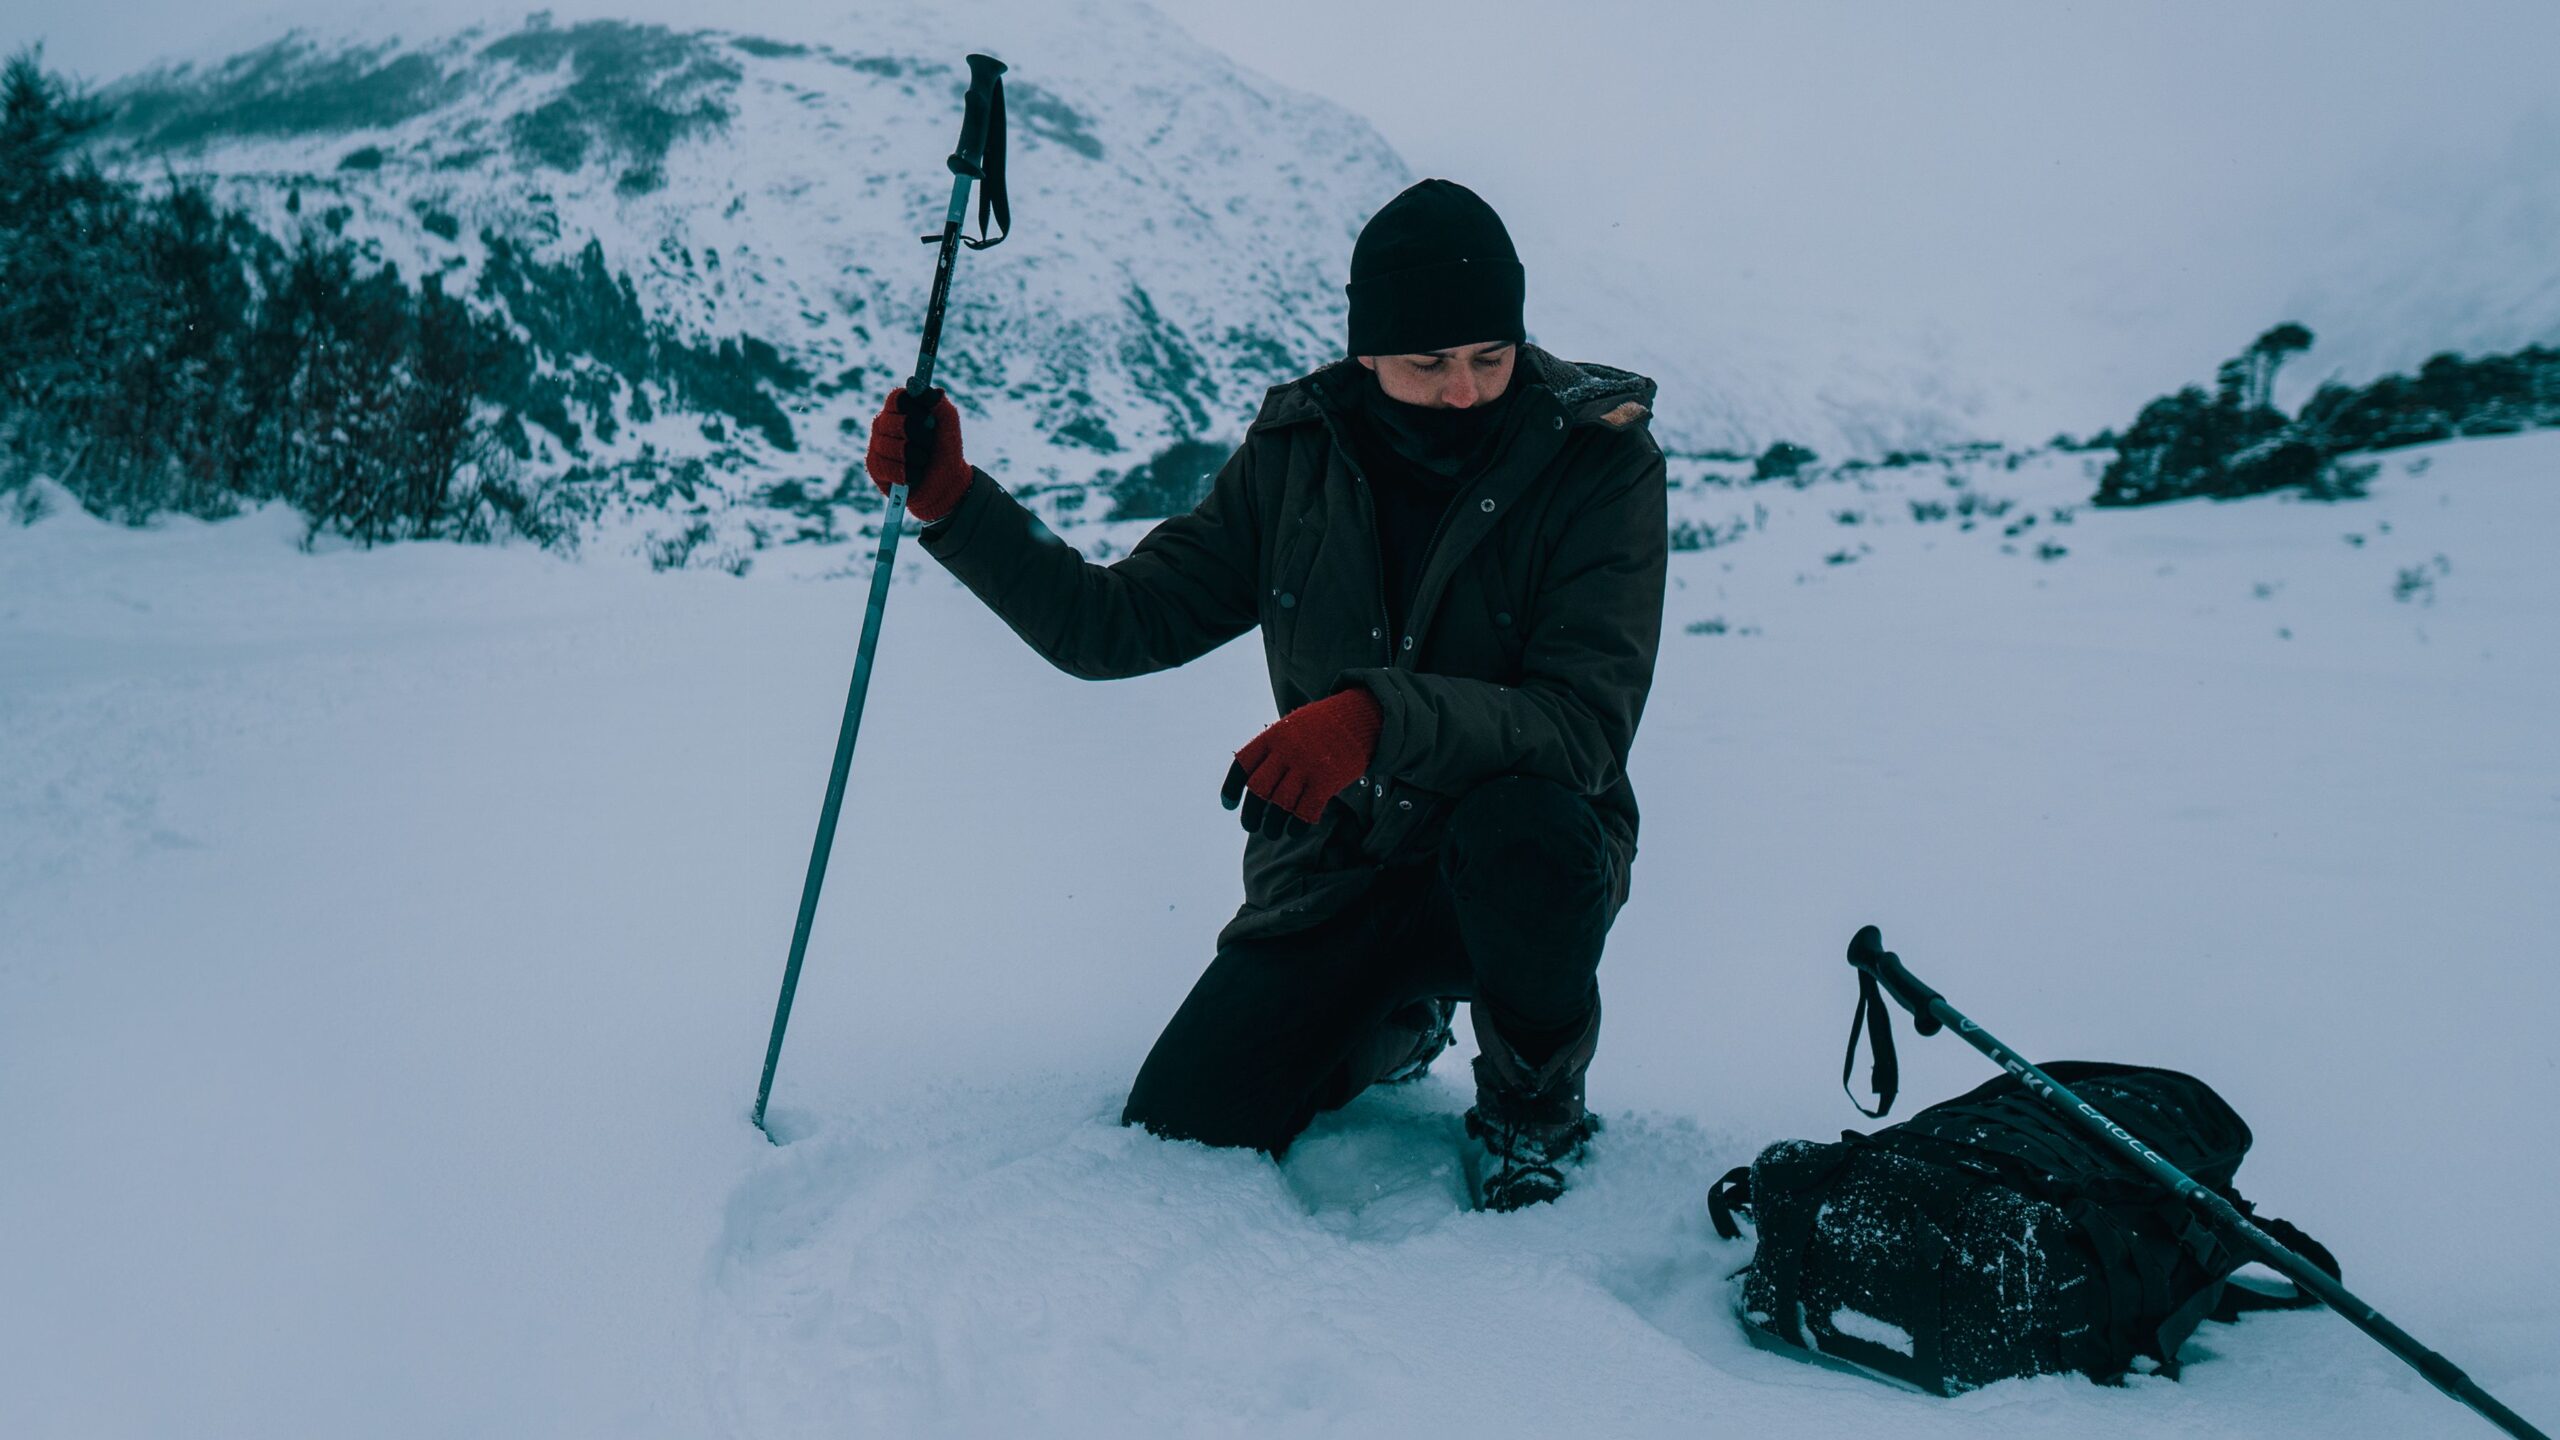
Sunrise from Kedarkantha summit feels unreal during fresh snowfall. The entire mountain range slowly changes from blue to gold within minutes. And then comes the part nobody talks about enough. The descent. Going downhill on snow often feels harder than climbing up. Many trekkers slip repeatedly while descending from the summit ridge. Trek poles help a lot here.
Hargaon Descent Route
Many trek operators descend toward Hargaon campsite after the summit push. This route passes through quieter forest sections. Compared to the upward trail. Snow-covered pine forests dominate most of the descent. Hargaon campsite sits around 8,900 feet and usually feels warmer than Base Camp. Trekkers often sleep much better here after the exhausting summit climb.
The descent to Hargaon also reduces altitude gradually, which helps the body recover comfortably.
Some trekkers notice mild headaches during summit descent because of exhaustion and altitude. Usually, hydration and proper rest solve this quickly. But if symptoms become serious, immediate descent remains the safest option.
This slower campsite progression is one reason Kedarkantha works well for beginners. The altitude gain remains controlled throughout the route.
Flora, Wildlife, and Trail Experience
The flora and fauna of kedarkantha passes through thick Himalayan forests filled with pine, oak, maple, and deodar trees. During early winter, you may even spot fresh animal footprints near the trail after snowfall.
Trekkers occasionally notice:
- Himalayan langurs
- Mountain fox tracks
- Himalayan monal birds
- Local shepherd dogs
- Small forest rodents near camps
Wildlife sightings are never guaranteed of course. The mountains decide those things, not itineraries. One underrated part of this route is the silence. Once you leave Sankri behind, city noise disappears completely. No traffic horns. No phone notifications. Sometimes only the sound of boots crushing snow.
Network coverage also becomes weak after Sankri. BSNL occasionally works near villages, but most mobile networks disappear during upper sections of the trek.
Which Route Variant Is Better?
Most trekkers follow the classic Sankri → Juda Ka Talab → Base Camp → Summit → Hargaon → Sankri route. But some operators use slightly different campsites like Bhoja Dhadi or Pukhrola depending on weather and crowd conditions.
For first-time trekkers, the standard route remains the safest and most comfortable option because:
- Trails stay well marked
- Campsites have regular trekking movement
- Guides know snow conditions properly
- Rescue coordination becomes easier during emergencies
Choosing the right season also changes the overall trail experience massively. Trekkers wanting heavy snowfall usually prefer the Kedarkantha trek in December, while people wanting slightly stable weather often choose late January or February departures.
Important Things to Know Before Following the Kedarkantha Trek Route Map
A route map only helps when you combine it with practical planning.
Before starting the trek, keep these points in mind:
- Start summit day slowly instead of rushing early.
- Carry at least two litres of water daily.
- Avoid overpacking your backpack.
- Keep gloves and jackets waterproof.
- Do not depend fully on mobile GPS.
- Listen carefully to trek leaders during snow sections.
- Always keep spare socks during winter batches.
Many beginners think the summit is the hardest part. Honestly, poor preparation creates bigger problems than the mountain itself.
The Kedarkantha route is not just about reaching a summit. It is about slowly watching the landscape change from village roads to silent forests, then from forests to open snow ridges. And somewhere between Sankri and the summit, most trekkers quietly realise they came here for far more than just a photograph.